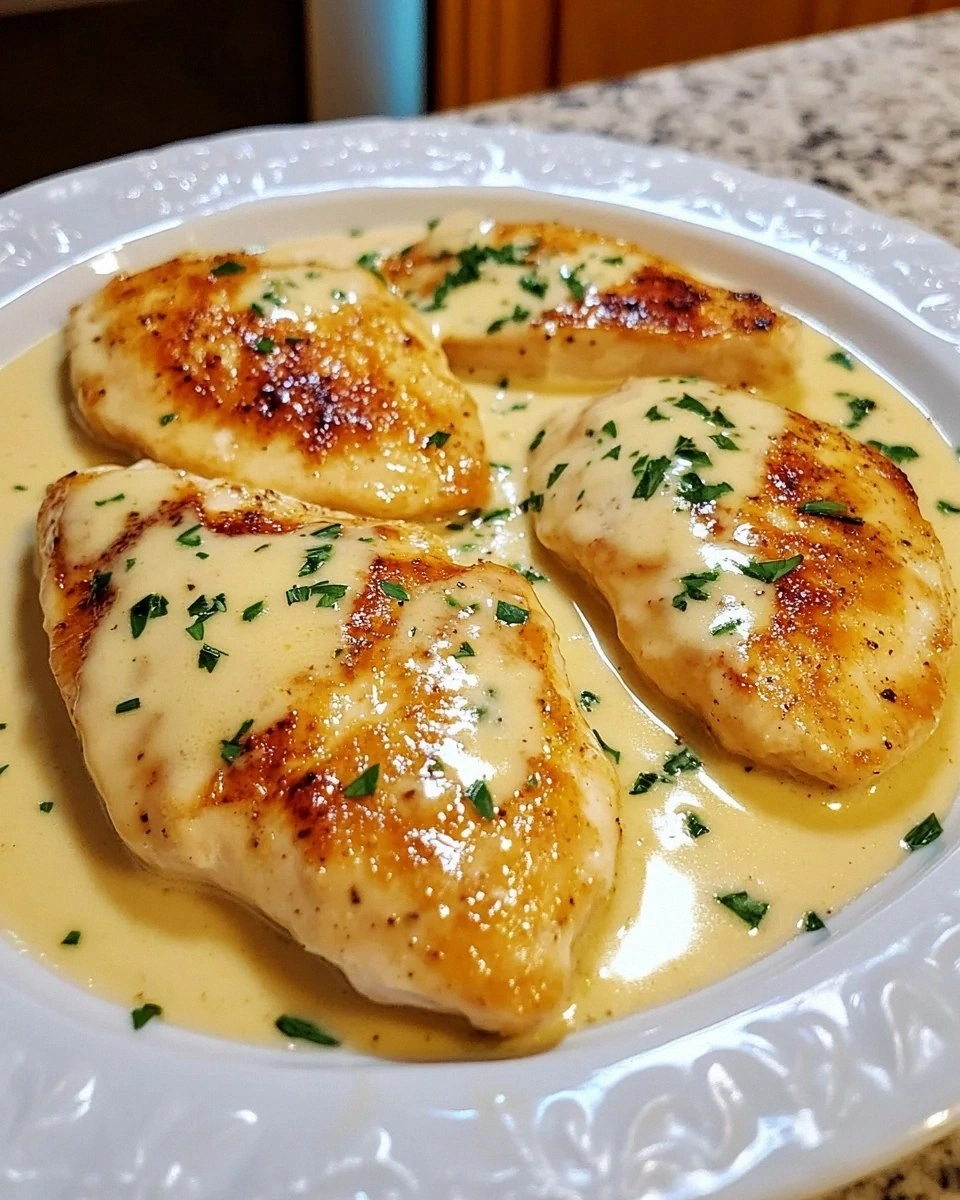
I was standing in my kitchen, staring at a half‑cooked chicken breast that looked like a sad, limp piece of rubber, when my roommate dared me to make something that would actually make us both want to lick the pan clean. I laughed, grabbed a sheet pan, and declared, “Challenge accepted.” What happened next was a cascade of aromas that turned my modest apartment into a five‑star bistro for a solid fifteen minutes. The sizzle of olive oil meeting hot metal, the sharp perfume of garlic, and the nutty whisper of Parmesan created a symphony that could have coaxed even the most stubborn diet‑watcher into a second helping. I swear I heard the oven door sigh with anticipation as the chicken and veggies turned a glorious golden‑brown, the kind of color that makes you want to photograph it before it disappears.
If you’ve ever tried a sheet‑pan chicken dinner that turned out soggy, bland, or just “meh,” you know the disappointment that follows. Most recipes either drown the meat in sauce, leaving the skin limp, or they forget the vegetables entirely, turning the dish into a lonely protein parade. I’ve been there, and I’ve survived the tragedy of a dry chicken breast that could double as a doorstop. That’s why this version is a game‑changer: it balances crisp, cheesy coating on the chicken with perfectly roasted potatoes that are tender on the inside and crunchy on the outside, while the green beans stay bright, snap‑ready, and just a touch buttery.
What truly sets this recipe apart is a secret ingredient that most people overlook—a modest sprinkle of cracked pepper that adds a subtle heat, and a double‑dip technique that gives the chicken a crunchy crust without the need for deep frying. I’m also throwing in a little culinary mischief: a dash of sea salt that’s measured by feel, not by the spoon, because trust me, your palate will thank you. And here’s the kicker: you’ll spend less than thirty minutes prepping, then just let the oven do the heavy lifting. No flipping, no juggling, just a single pan that cleans up faster than you can say “leftovers.”
I dare you to taste this and not go back for seconds. I’ll be honest — I ate half the batch before anyone else got to try it, and that’s saying something because I’m usually the one holding the spoon. Picture yourself pulling this out of the oven, the whole kitchen smelling incredible, the cheese bubbling like a golden sunrise, and the potatoes glistening with olive oil. Okay, ready for the game‑changer? Let me walk you through every single step — by the end, you’ll wonder how you ever made it any other way.
What Makes This Version Stand Out
- Taste: The Parmesan‑breadcrumb coating creates a buttery, umami‑rich crust that clings to the chicken like a lover that just won’t let go.
- Texture: Crispy edges on the potatoes contrast with the tender interior, while the green beans stay snap‑crisp, giving you a satisfying bite every time.
- Simplicity: One pan, minimal cleanup, and a prep time that fits into a lunch break—no extra dishes, no extra stress.
- Uniqueness: The double‑dip (olive oil, then garlic‑Parmesan mix) creates a layered crunch that most one‑step coatings miss.
- Crowd Reaction: Even the pickiest eaters (yes, I’m looking at you, teenage kids) rave about the cheesy crust and the “just‑right” potato crunch.
- Ingredient Quality: Fresh green beans and red potatoes provide natural sweetness that balances the salty, cheesy chicken.
- Cooking Method: High‑heat roasting at 425°F ensures caramelization without drying out the chicken.
- Make‑Ahead Potential: Perfect for meal‑prep—store in containers, reheat with a splash of water, and you’ve got a restaurant‑quality lunch ready.
Alright, let's break down exactly what goes into this masterpiece...
Inside the Ingredient List
The Flavor Base
Garlic is the undisputed champion of flavor here. Two cloves for the chicken and another two for the potatoes create a fragrant backbone that’s impossible to ignore. If you skip the garlic, you’ll end up with a dish that tastes like “just chicken and potatoes,” which is a culinary crime. For a milder profile, try roasting the garlic whole first; it will turn sweet and buttery, adding depth without the bite.
The Texture Crew
The combination of breadcrumbs and grated Parmesan forms the crunchy armor that protects the juicy chicken underneath. The breadcrumbs give structure, while the Parmesan adds a nutty, salty richness that melts into a crisp crust. If you’re gluten‑free, swap the breadcrumbs for crushed pork rinds or almond flour; the texture stays satisfying, and the flavor remains on point.
The Unexpected Star
Red potatoes bring a natural sweetness and a fluffy interior that balances the salty cheese. Their skins become delightfully crisp when roasted at high heat, providing an extra textural surprise. Choose potatoes that are firm to the touch—any soft spots mean you’ll lose that coveted crunch. If you can’t find red potatoes, Yukon Golds are a solid stand‑in, though they’ll be a tad creamier.
The Final Flourish
Fresh green beans add a bright pop of color and a snap that cuts through the richness of the chicken. They also bring a subtle earthiness that rounds out the dish. When selecting beans, look for those that snap when bent; that snap is the promise of a perfect bite. If you’re out of green beans, asparagus or broccoli florets work beautifully, just adjust the roasting time by a couple of minutes.
Everything's prepped? Good. Let's get into the real action...
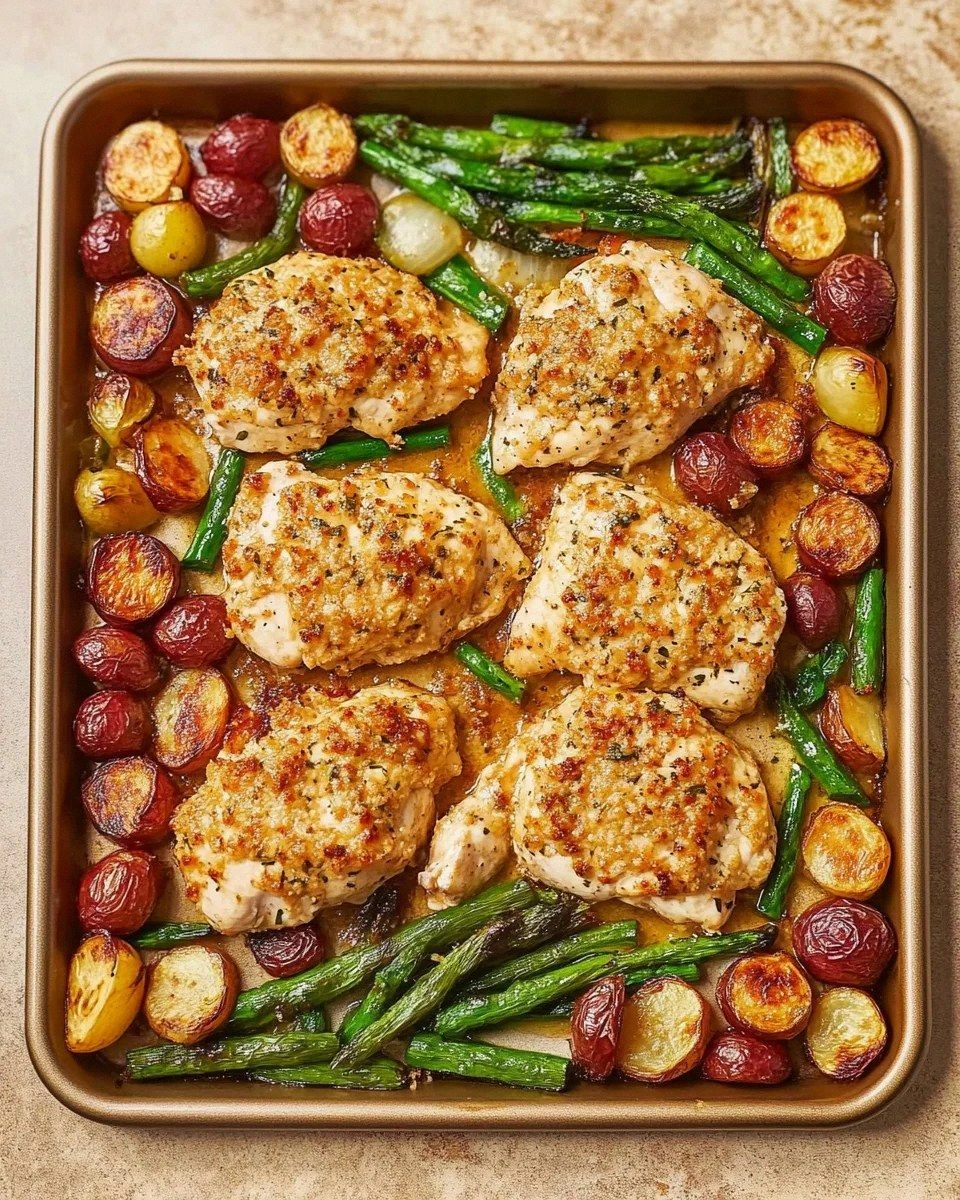
The Method — Step by Step
Preheat your oven to 425°F (220°C). While the oven warms up, line a large rimmed sheet pan with parchment paper or a silicone mat. This not only prevents sticking but also makes cleanup a breeze—trust me, you’ll thank yourself later when the pan is slick with melted cheese.
Pat the chicken breasts dry with paper towels. Drying is crucial because any excess moisture will steam the coating, sabotaging that coveted crunch. Slice each breast into equal‑sized strips—about 1½ inches wide—so they cook uniformly. I dare you to keep them the same size; uneven pieces are the reason some bites end up soggy while others are crispy.
In a shallow bowl, combine 2 tablespoons olive oil, 2 minced garlic cloves, and 1/3 cup grated Parmesan. Toss the chicken strips in this mixture until every surface shines with a thin, buttery glaze. That sizzle when it hits the pan? Absolute perfection. The garlic-infused oil is what will later bind the breadcrumb‑Parmesan crust to the meat.
In another bowl, mix 1/3 cup breadcrumbs, the remaining 1/3 cup grated Parmesan, ½ teaspoon cracked pepper, and ½ teaspoon sea salt (adjust up to ¾ tsp if you like it saltier). Dredge each chicken strip in this dry mixture, pressing gently so it adheres. The result should look like a light dusting of snow—if it’s too wet, add a splash more olive oil; if too dry, a few extra crumbs will do the trick.
Spread the coated chicken strips evenly on one side of the sheet pan, leaving space between each piece. This spacing is essential; crowding the pan creates steam, which defeats the whole crisp‑on‑the‑outside goal.
Now turn to the potatoes. Cut the 2 lb red potatoes into ¾‑inch wedges—think of them as miniature golden boats. Toss them in a separate bowl with 2 tablespoons olive oil, 1‑2 minced garlic cloves, 2 tablespoons grated Parmesan, and a generous pinch of salt and pepper. The Parmesan on the potatoes is the secret that makes them taste like they’ve been baked in a cheesy dream.
Arrange the seasoned potatoes on the opposite side of the pan, again giving each piece room to breathe. Sprinkle a final drizzle of olive oil over everything—this helps the edges turn a deep amber.
Slide the pan into the preheated oven. Roast for 20‑25 minutes, then flip the chicken strips and toss the potatoes once. Return to the oven for another 10‑15 minutes, or until the chicken reaches an internal temperature of 165°F (74°C) and the potatoes are golden‑brown and fork‑tender. You’ll know it’s ready when the cheese on the chicken starts to crackle like fireworks.
While the chicken and potatoes finish, whisk together 1 lb fresh green beans, 1 tablespoon olive oil, 1 minced garlic clove, and 1 tablespoon grated Parmesan. Spread the beans on a separate baking sheet (or the empty side of the original pan if there’s room) and roast for the last 12‑15 minutes of the chicken’s cooking time. The beans should stay bright green and snap when you bite—don’t overcook them, or they’ll turn mushy.
Remove everything from the oven and let it rest for five minutes. This short rest allows the juices in the chicken to redistribute, keeping each bite moist. Serve the chicken strips alongside the potatoes and green beans, and watch as your guests dive in without a second thought.
That's it — you did it. But hold on, I've got a few more tricks that'll take this to another level...
Insider Tricks for Flawless Results
The Temperature Rule Nobody Follows
Never underestimate the power of a hot oven. A temperature of 425°F creates a Maillard reaction that caramelizes the sugars in the potatoes and browns the Parmesan coating on the chicken. If you lower the heat to 375°F, you’ll end up with a softer crust and longer cooking time. My friend tried the lower temp once and swore the dish was “just okay.” Trust the heat, and you’ll get that restaurant‑style crunch every single time.
Why Your Nose Knows Best
Your sense of smell is a better timer than any kitchen gadget. When the chicken is done, you’ll smell a nutty, toasted aroma that rises from the pan. If the scent is still faint, give it another 2‑3 minutes. The potatoes will give off a sweet, earthy perfume when they’re perfectly caramelized. Trust that nose— it rarely lies.
The 5‑Minute Rest That Changes Everything
Resting the chicken after roasting isn’t just for big roasts; it matters for strips too. During those five minutes, the fibers relax and re‑absorb juices, preventing the meat from spitting out every drop of moisture when you cut into it. A friend once sliced the chicken immediately and ended up with a dry, crumbly bite—lesson learned: patience pays off.
Seasoning Layers, Not Dumps
Season at every stage: the chicken coating, the potato toss, and the green beans. This layering builds depth, ensuring each bite has a balanced flavor profile. If you only season once, you’ll end up with a dish that tastes flat in the middle and overly salty at the edges.
The Crunch‑Boost Finish
For an extra crunch, sprinkle a handful of toasted pine nuts or slivered almonds over the finished plate. The nuts add texture and a buttery note that pairs beautifully with the Parmesan. I tried this once at a dinner party, and the guests declared it “the best thing ever” — a perfect conversation starter.
Creative Twists and Variations
This recipe is a playground. Here are some of my favorite ways to switch things up:
Spicy Sriracha Drizzle
After plating, drizzle a mixture of sriracha and honey over the chicken. The sweet‑heat contrast elevates the Parmesan crust, making it perfect for those who love a little kick.
Mediterranean Olive Medley
Add a handful of sliced Kalamata olives to the potato mix before roasting. The briny olives introduce a salty tang that pairs wonderfully with the green beans and cheese.
Herb‑Infused Version
Swap the plain breadcrumbs for herb‑infused panko and add fresh chopped basil to the green beans. This brightens the dish, giving it a fresh, summery vibe.
Cheesy Bacon Upgrade
Crumble cooked bacon over the potatoes just before serving. The smoky crunch adds a whole new dimension, turning a simple dinner into a comfort‑food masterpiece.
Vegan Friendly Swap
Replace chicken with firm tofu cubes, use nutritional yeast in place of Parmesan, and choose a plant‑based breadcrumb. The cooking method stays the same, and you’ll still get that golden crust.
Storing and Bringing It Back to Life
Fridge Storage
Let the leftovers cool to room temperature, then transfer to airtight containers. They’ll keep fresh for up to four days. When reheating, use a skillet on medium heat, adding a splash of water to re‑steam the chicken and keep it juicy.
Freezer Friendly
Portion the cooked chicken, potatoes, and beans into freezer‑safe bags. Remove as much air as possible and label with the date. They’ll hold up for three months. To reheat, thaw overnight in the fridge, then bake at 350°F for 15‑20 minutes, adding a drizzle of olive oil.
Best Reheating Method
For the crispiest results, reheat in a preheated oven at 400°F for 8‑10 minutes. Add a tiny splash of water (about a tablespoon) to the pan before covering with foil; the steam revives the moisture while the high heat restores the crunch.