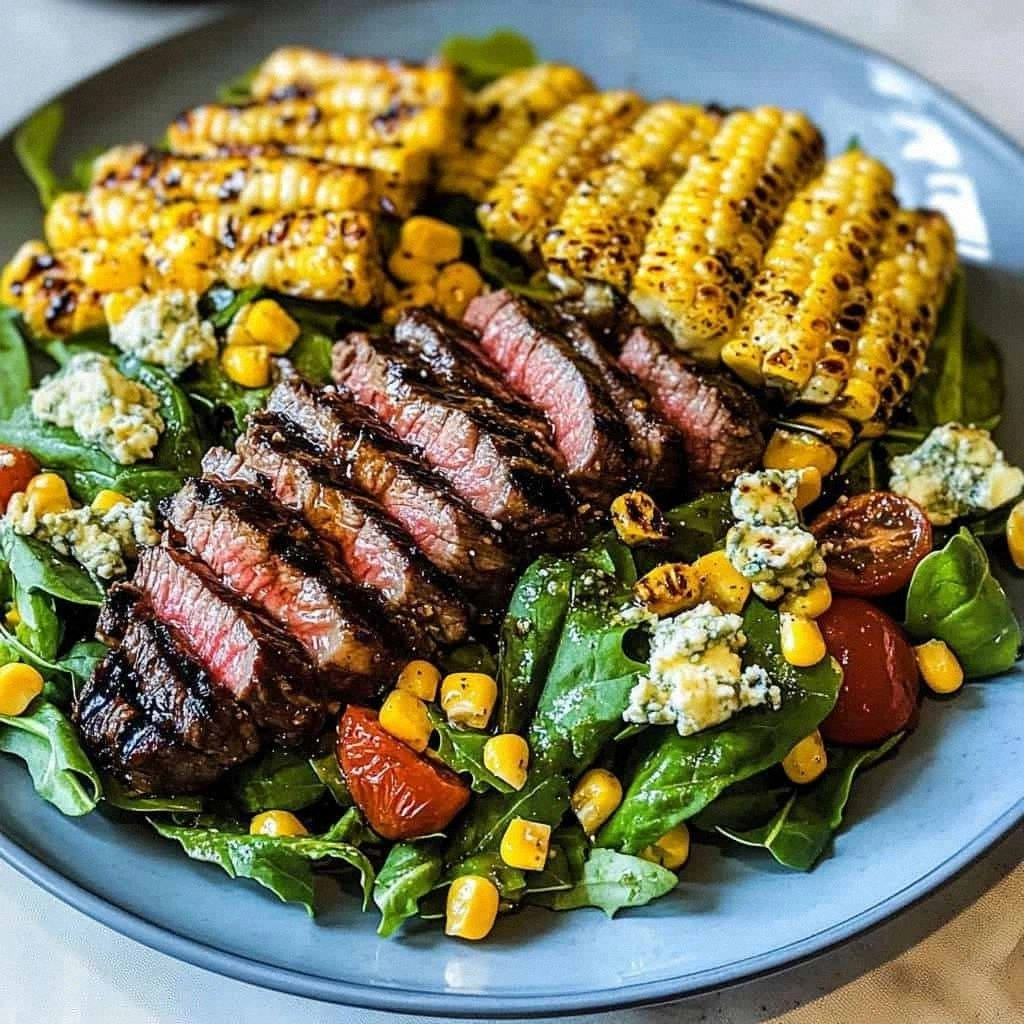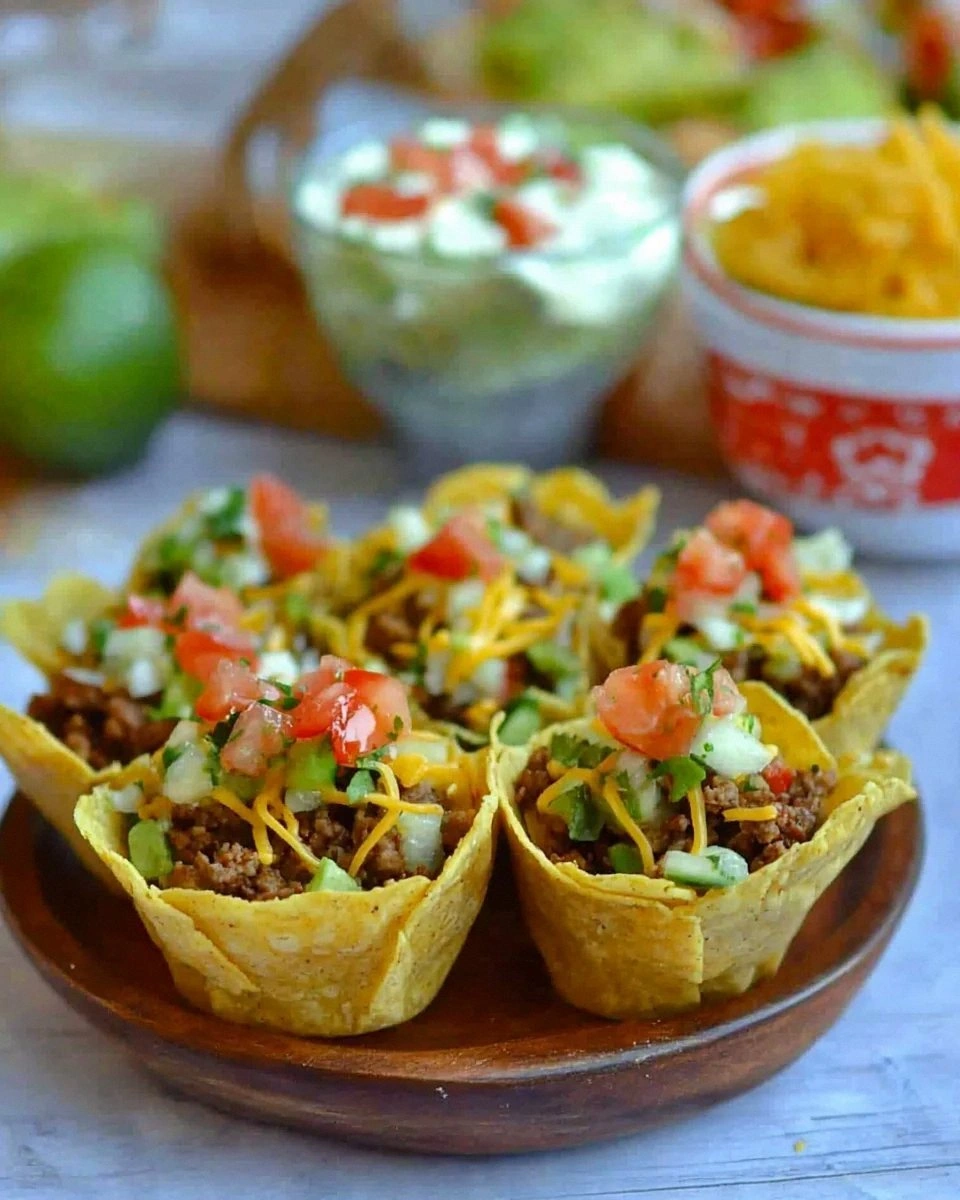
I was halfway through a midnight binge of nacho cheese and tortilla chips when the inevitable happened – my bowl tipped, the cheese splattered, and I stared at the mess like it was a crime scene. I swore off any more taco‑night disasters, but the craving didn’t quit. It was one of those moments where you either give up or you double‑down and create something that makes the original look like a sad afterthought. I chose the latter, and that’s how the idea for Crunchy Taco Bites was born – a bite‑size, handheld version of the classic taco that could survive a tumble and still taste like a fiesta in your mouth.
Picture this: the faint hiss of a hot pan, the golden‑brown edges of a wonton wrapper snapping as you lift it, a burst of aromatic taco seasoning that hits your nose like a mariachi band on a summer night. The scent of sizzling beef mingles with the fresh, crisp snap of lettuce, while the creamy guacamole and tangy salsa swirl together in a colorful pool at the bottom of the plate. You hear the faint crunch as you bite, feel the warm, buttery melt of cheese, and taste the perfect balance of spice, coolness, and richness. Every sense is engaged, and you can’t help but grin like a kid who just discovered the secret candy stash.
Most taco bite recipes out there either drown the wrapper in oil, making them soggy, or they skimp on flavor, leaving you with a bland crunch. This version, however, flips the script. By lightly spraying the wonton wrappers and giving them a quick flash‑fry, we lock in a crisp that shatters like thin ice while still holding a pocket for the filling. The secret weapon? A dash of vegetable oil combined with a quick toss in taco seasoning before the fry – it creates a flavor‑infused crust that most recipes completely miss. I dare you to taste this and not go back for seconds.
Let me walk you through every single step — by the end, you’ll wonder how you ever made a taco any other way. Okay, ready for the game‑changer? This next part? Pure magic.
What Makes This Version Stand Out
- Crunch Factor: The quick fry gives each bite a shatter‑like crisp that stays crunchy even after the toppings are added. No soggy wrappers here.
- Flavor Layering: By seasoning the oil and the wrapper itself, every bite carries a subtle taco kick before you even reach the meat.
- Portion Control: Twelve bite‑size pieces mean you can serve a crowd without overindulging – perfect for parties or game night.
- Speedy Assembly: The whole process from prep to plate is under 45 minutes, making it a go‑to for last‑minute cravings.
- Ingredient Flexibility: Swap ground turkey for beef, use a dairy‑free cheese blend, or go vegetarian with black beans – the base stays delicious.
- Visual Appeal: The golden triangles look like tiny trophies, and the colorful toppings turn every plate into a festive spread.
- Make‑Ahead Friendly: You can fry the wrappers ahead of time and store them in an airtight container; just add the fresh toppings when you’re ready to serve.
- Crowd Reaction: I’ve seen grown‑ups and kids alike gasp, smile, and then immediately reach for another – a true party pleaser.
Inside the Ingredient List
The Flavor Base
The ground beef or turkey is the heart of the bite. Using 1/3 cup keeps the filling light enough to let the crunch shine, yet still provides that savory, meaty backbone we all love. If you skip the meat entirely, the bites lose the umami depth that makes them feel like a true taco. A good swap is finely crumbled tempeh for a plant‑based version – just add a splash of soy sauce to keep the richness.
Taco seasoning (2 teaspoons) is the spice secret. It’s a blend of chili powder, cumin, paprika, and garlic that coats the meat and the oil, creating a flavor‑infused crust. If you’re feeling adventurous, add a pinch of smoked paprika for a subtle wood‑smoke note that elevates the whole dish.
The Texture Crew
The wonton wrappers are the unexpected hero. Their paper‑thin composition allows them to crisp up in seconds, turning into a delicate, yet sturdy, pocket. Make sure you use fresh wrappers – if they’re stale, they’ll never achieve that perfect crunch and will absorb too much oil.
Cooking spray is used sparingly to keep the oil usage low while still achieving that golden‑brown finish. A light mist is all you need; over‑spraying can lead to greasy bites that lose their crispness.
Vegetable oil (1 tablespoon) adds the necessary fat for a quick fry without overwhelming the wrapper’s delicate texture. I recommend a high‑smoke‑point oil like canola or grapeseed for the cleanest flavor.
The Unexpected Star
Shredded Mexican cheese blend (1/2 cup) melts into a gooey blanket that binds the meat and adds a creamy, salty bite. If you’re dairy‑free, try a vegan cheddar blend; it melts just as nicely and keeps the flavor profile intact.
Finely shredded lettuce (1 cup) provides a fresh crunch that contrasts the warm wrapper. Iceberg offers a neutral crunch, while romaine adds a subtle peppery note. Skipping the lettuce makes the bite feel heavier and less balanced.
The Final Flourish
Guacamole (1/2 cup) brings a buttery, avocado‑rich coolness that cuts through the spice. A homemade version with lime juice and a pinch of salt is ideal; store‑bought works in a pinch but may be overly salty.
Salsa (1/2 cup) adds a bright, tangy acidity that lifts the whole bite. Choose a medium‑spiced variety for balance – too hot and it will dominate the subtle flavors.
Sour cream (1/4 cup) adds a velvety finish that rounds out the heat. For a lighter option, Greek yogurt works just as well and adds a touch of protein.
Everything's prepped? Good. Let’s get into the real action…
The Method — Step by Step
First, gather all your ingredients and set up a clean workstation. I like to line a large plate with paper towels – this will be our “crunch catcher” for the fried wrappers. While the wrappers sit, heat a non‑stick skillet over medium‑high heat; you’ll hear a gentle sizzle when it’s ready, that’s the sound of success.
Lightly spray each wonton wrapper with cooking spray on both sides. Don’t overdo it – a fine mist is enough to give the oil a surface to cling to without drowning the wrapper. Lay them out in a single layer on the prepared plate; they’ll puff up a little as they sit, which is normal.
Kitchen Hack: If you don’t have a spray bottle, drizzle a teaspoon of oil onto a paper towel and gently pat the wrappers – you’ll get an even coat without the mess.In a small bowl, combine the vegetable oil with the taco seasoning. Stir until the spices are fully dissolved – this creates a seasoned oil that will coat the wrappers as they fry, embedding flavor into every crispy edge.
Place the skillet back on the heat and add a thin layer of the seasoned oil – just enough to coat the bottom. When the oil shimmers (you’ll see a faint ripple across the surface), it’s time to add the wrappers. Carefully lay 2‑3 wrappers at a time, making sure they don’t overlap.
Watch Out: Keep the heat at medium‑high; too low and the wrappers will soak up oil, too high and they’ll burn before crisping.After about 30 seconds, the edges will start to turn golden and lift slightly from the pan. Flip them gently with tongs; the other side should brown just as quickly. The whole process per batch is under a minute – that’s the secret to that airy crunch.
Transfer the fried wrappers onto the paper towel‑lined plate to drain any excess oil. You’ll notice they puff up a bit, forming a tiny pocket perfect for stuffing. Let them cool for a minute – they’ll become even crisper as they lose residual steam.
While the wrappers cool, heat a separate skillet over medium heat and add the ground beef or turkey. Break it up with a spatula and let it brown, stirring occasionally. As the meat releases its juices, add a pinch of salt and pepper, then pour in the remaining taco seasoning if you like a stronger flavor. Cook until the meat is fully browned, about 5‑6 minutes.
Once the meat is ready, stir in the shredded cheese blend and let it melt into the meat, creating a cohesive filling. This step is quick – the cheese should melt in under a minute, coating the meat in a glossy, cheesy veil.
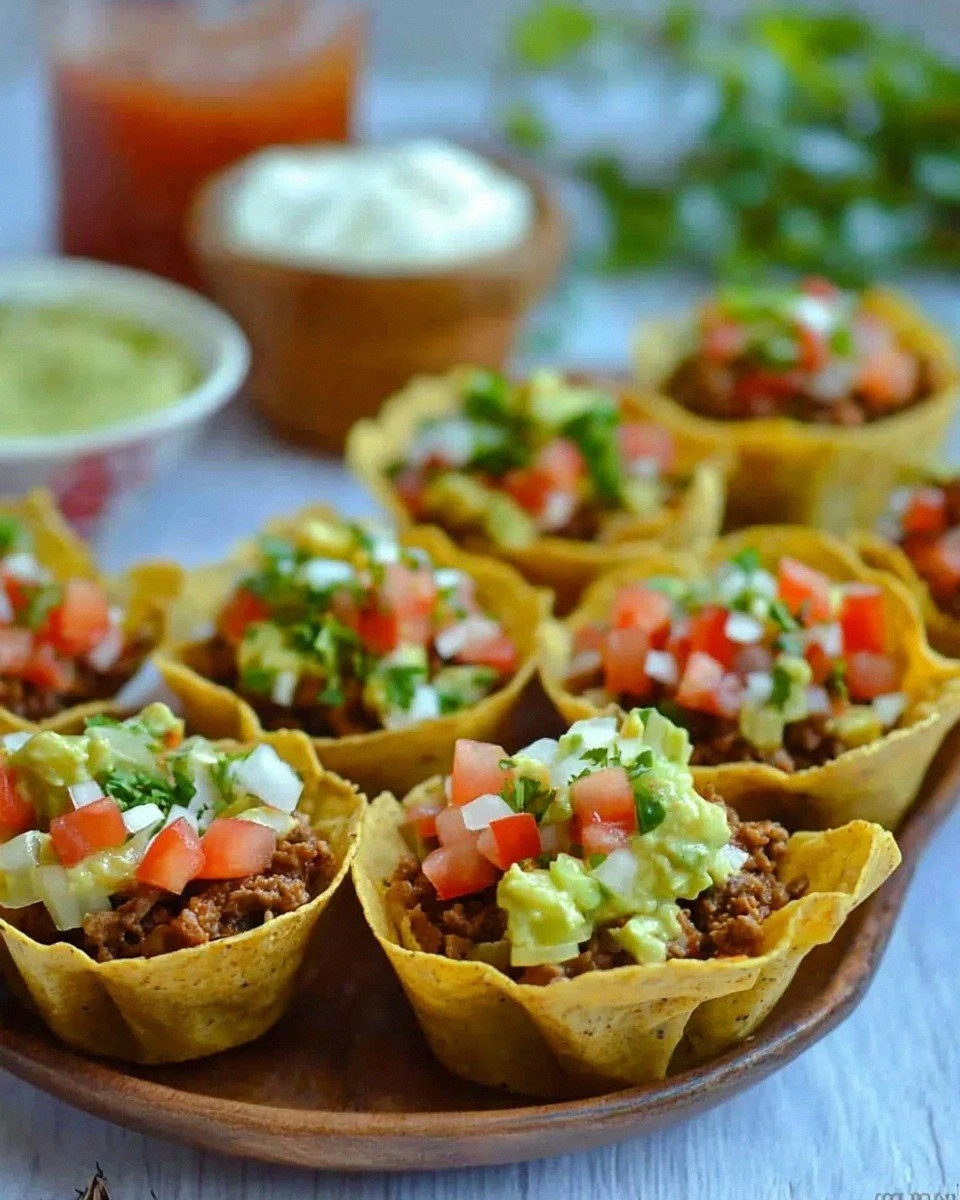
Now the fun part: assembling the bites. Take a cooled wrapper, spoon a generous dollop of the meat‑cheese mixture into the center, then top with a pinch of shredded lettuce. Add a small spoonful of guacamole, a drizzle of salsa, and finish with a dab of sour cream. The colors should pop like a miniature taco parade.
Kitchen Hack: Use a small zip‑top bag with a tiny corner cut off to pipe the guacamole and sour cream neatly – it looks professional and speeds up assembly.Arrange the finished bites on a serving platter, garnish with a few extra cilantro leaves if you like, and serve immediately. That sizzle when it hits the pan? Absolute perfection. Picture yourself pulling this out of the oven, the whole kitchen smelling incredible… and you’re the hero of the night.
That’s it — you did it. But hold on, I’ve got a few more tricks that’ll take this to another level…
Insider Tricks for Flawless Results
The Temperature Rule Nobody Follows
Keep your skillet at a steady medium‑high heat. If the temperature fluctuates, the wrappers either soak up oil or burn. Use a thermometer if you’re unsure; 350°F (175°C) is the sweet spot for a quick, even crisp. I once tried a low‑heat approach and ended up with limp, soggy bites – a lesson learned the hard way.
Why Your Nose Knows Best
Your sense of smell is a reliable indicator of doneness. When the fried wrappers start to emit a nutty, toasted aroma, you’re seconds away from perfection. Trust that scent; don’t rely solely on visual cues, because a golden hue can sometimes be deceptive.
The 5‑Minute Rest That Changes Everything
After frying, let the wrappers rest on paper towels for at least five minutes. This short pause lets excess oil evaporate and the structure set, preventing sogginess when you add the moist toppings. Skipping this step is the fastest way to ruin your crunch.
Seasoned Oil vs. Plain Oil
Seasoning the oil with taco spices before frying infuses the wrapper itself with flavor. If you use plain oil, the seasoning only coats the meat, leaving the wrapper bland. This tiny adjustment turns an ordinary bite into a flavor powerhouse.
The One‑Handed Assembly Hack
When you’re juggling multiple toppings, keep a small bowl of each within arm’s reach and use a spoon to scoop and a silicone brush to spread. This keeps your hands clean and speeds up the process dramatically. I once tried to use my fingers and ended up with a mess – never again.
Creative Twists and Variations
This recipe is a playground. Here are some of my favorite ways to switch things up:
Southwest Black Bean Blast
Swap the ground meat for a seasoned black bean mash (blend beans with cumin, lime juice, and a splash of chipotle sauce). The beans add a hearty texture and a smoky depth, perfect for vegetarians and vegans alike.
Cheesy Jalapeño Pop
Add finely diced jalapeños to the cheese‑meat mixture and sprinkle extra shredded cheese on top before serving. The heat spikes up, and the extra cheese creates a gooey pull that’s utterly addictive.
Breakfast Taco Bites
Replace the meat with scrambled eggs mixed with crumbled breakfast sausage, and swap salsa for a mild pico de gallo. Top with a drizzle of hot sauce and a dusting of chives for a morning twist.
Mediterranean Fusion
Use ground lamb with a sprinkle of cinnamon and allspice, replace the cheese with feta, and add a dollop of tzatziki instead of sour cream. The result is a taco bite that feels like a trip to a seaside taverna.
Sweet & Savory Chili
Incorporate a spoonful of pineapple chunks into the meat mixture and drizzle a thin line of honey‑chili sauce over the assembled bite. The sweet‑heat combo is a surprise that wins over even the most skeptical tasters.
Storing and Bringing It Back to Life
Fridge Storage
Place the fried wrappers in an airtight container lined with a paper towel to absorb any residual oil. They’ll stay crisp for up to 2 days. Store the meat mixture, lettuce, guacamole, salsa, and sour cream in separate containers to keep everything fresh.
Freezer Friendly
Freeze the fried wrappers in a single layer on a baking sheet, then transfer them to a zip‑top bag. They’ll keep for up to a month. When you’re ready to serve, reheat them in a hot oven (375°F/190°C) for 5‑7 minutes – they’ll regain their crunch.
Best Reheating Method
To revive leftovers, preheat your oven to 350°F (175°C). Arrange the bites on a wire rack over a baking sheet, add a tiny splash of water (about a teaspoon) to the tray, and heat for 4‑5 minutes. The steam created by the water restores the wrapper’s texture without making it soggy.