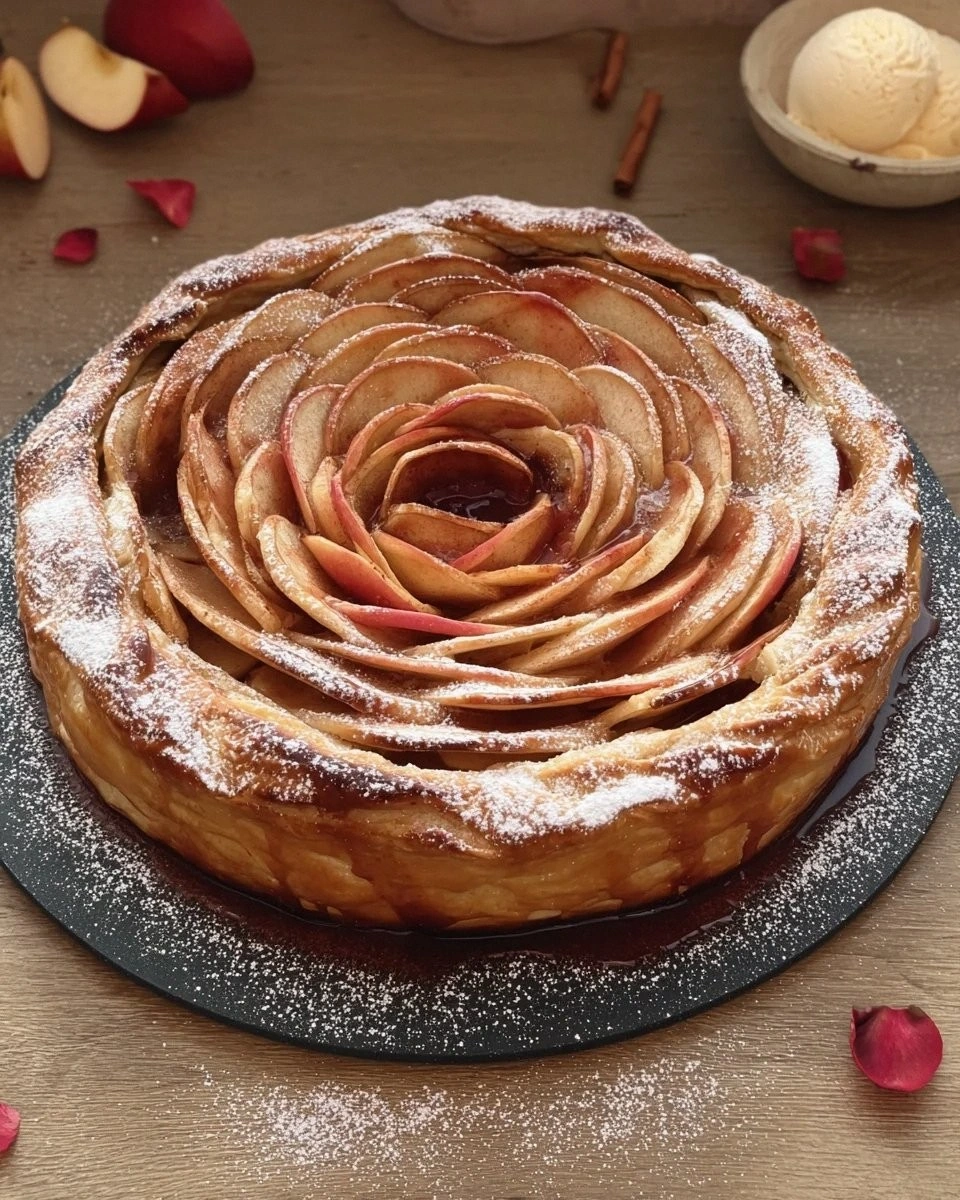
I still remember the day I set out to make a humble apple pie for my book club and accidentally created a dessert so massive it barely fit through the oven door. The crust cracked like a fault line across California, fruit juices erupted like Mount Vesuvius, and the whole thing looked like a geological disaster you’d find in a science museum. Guests arrived early, phones whipped out for evidence, and I braced myself for polite nibbles followed by a discreet run to the bakery. Instead, they demolished every last crumb, fought over the caramelized drips on the parchment, and begged for the recipe. That’s when I realized bigger is not just better—bigger is unforgettable. This XXL Apple Pie takes everything you love about the classic and supersizes it into a show-stopping centerpiece that feeds a crowd and steals every ounce of attention from the main course.
Picture this: layers upon layers of tender, paper-thin apples stacked like edible Jenga inside a flaky, buttery crust that shatters under your fork the way thin ice cracks beneath winter boots. The aroma alone—cinnamon riding waves of caramelized sugar and baked apples—will pull neighbors from their houses, noses lifted like hound dogs on the scent. When you slice into it, the filling stays tall and proud instead of collapsing into a syrupy puddle, because we’re using a game-changing apple-shingling technique plus a whisper of cornstarch that keeps every slice Instagram-worthy. And the best part? The pie feeds a dozen hungry dessert fanatics with leftovers sturdy enough for breakfast the next morning, should you possess that kind of restraint (I clearly do not).
Most recipes play it safe with a modest nine-inch plate and call it a day. I say go big or go home—this pie bakes in a half-sheet pan, yielding slabs so generous you’ll need two spatulas to hoist them onto plates. The crust-to-filling ratio is pure perfection: every bite carries crackling shards of laminated dough alongside molten apples scented with brown butter, bourbon, and a three-spice symphony of cinnamon, cardamom, and freshly grated nutmeg. I dare you to taste the first bite of caramelized edge and not go back for seconds while pretending you’re “just evening up the row.” If you’ve ever struggled with soggy bottoms, shrunken crusts, or under-seasoned fillings that taste more like applesauce than apple pie, you’re not alone—and I’ve got the fix.
Stay with me here, because the next part is pure magic. We’re browning the butter until it smells like toasted hazelnuts, macerating the fruit so every slice stays plump instead of weeping into a watery mess, and weaving a top crust so dramatic it could headline its own Vegas show. By the end of this tutorial you’ll wonder how you ever settled for anything smaller, tamer, or less spectacular than this XXL masterpiece. Let me walk you through every single step—by the end you’ll wonder how you ever made it any other way.
What Makes This Version Stand Out
- Sheet-Pan Size: Feeds a crowd, delivers maximum caramelized edges, and eliminates the dreaded soggy-bottom syndrome you get in deep-dish pans. The shallow depth concentrates flavors faster, so apples roast rather than stew.
- Brown-Butter Brilliance: We’re not just melting butter; we’re taking it to the edge of burnt, whisking in warm spices, and painting that nutty liquid gold under and over the apples for depth you didn’t know pie could possess.
- Triple-Threat Spices: Cinnamon lays the cozy foundation, cardamom adds unexpected citrusy perfume, and freshly grated nutmeg delivers warm, egg-noggy comfort that makes guests close their eyes and sigh.
- Apple-Shingle Method: Instead of dumping fruit in a heap, we overlap thin slices in tidy rows, creating a mosaic that sets perfectly and slices cleanly like a fancy French tart—but with all the gooey nostalgia of grandma’s pie.
- Bourbon Splash: A couple tablespoons of Kentucky’s finest amplify the caramel notes and evaporate in the oven, leaving behind a grown-up whisper that makes people ask, “What’s your secret?”
- Make-Ahead Magic: You can prep the dough, cook the filling, and assemble the pie up to two days ahead; just bake it fresh when company arrives, filling your home with that irresistible hot-pie perfume.
- Crust Insurance: A dusting of crushed cornflakes under the fruit acts like edible paper towels, soaking up rogue juices while adding a subtle toasted-cereal crunch nobody can identify but everybody loves.
Alright, let’s break down exactly what goes into this masterpiece...
Inside the Ingredient List
The Flavor Base
Butter is the sun around which this pie universe orbits. You’ll need three sticks: two get cut into the flour for a flaky crust, the third gets browned to a nutty amber and brushed between the apple layers for richness that seeps into every crevice. Use European-style butter with 82 percent fat; lower water content means flakier layers and a more pronounced buttery flavor that supermarket sticks can’t touch. When browning, swirl the pan constantly and pull it off the heat when the milk solids turn toasted-marshmallow brown—those specks carry concentrated flavor bombs you can’t replicate with plain melted butter.
Apples are obviously the star, but variety is the secret to complexity. I combine half tart Granny Smith for structure and half sweet-tart Honeycrisp or Pink Lady for juicy pops of floral sweetness. Avoid Red Delicious—they collapse into cottony mush—and skip mealy McIntosh unless you enjoy applesauce pie. Ten large apples sound excessive, but they shrink dramatically, and we’re building a skyscraper of fruit that stands proud even after a long bake.
The Texture Crew
Brown sugar does double duty, sweetening the filling and adding molasses undertones that make each bite taste like caramel apples at a state fair. White sugar would work, but you’d lose that deep, almost smoky complexity that makes people chase the last bite around their plate. A modest amount—just three-quarters of a cup—keeps the pie from crossing into candy territory and lets the fruit’s natural sugars sing.
Cornstarch is the unsung hero that prevents the dreaded fruit tsunami. Two tablespoons absorb excess juice without turning the filling into glue the way flour sometimes can. If you’re catering to gluten-free guests, arrowroot or tapioca starch swap in seamlessly at the same ratio.
The Unexpected Star
Apple cider vinegar in the crust might sound odd, but acid inhibits gluten development, ensuring a crust so tender it flakes at the mere suggestion of a fork. The faint tang also balances the sweet filling the way a squeeze of lemon brightens seafood. Don’t worry—you won’t taste vinegar; you’ll only notice a mysteriously crisp crust that shatters beautifully.
Bourbon amplifies the caramel notes the way vanilla supports chocolate. Alcohol evaporates in the oven, leaving behind oaky, vanilla-bean complexity that makes people ask for your secret. No bourbon? Dark rum or even a shot of strong coffee work in a pinch, but you’ll miss that smoky Kentucky hug.
The Final Flourish
Egg wash—one yolk beaten with a splash of cream—paints the top crust with a glossy, mahogany lacquer worthy of a bakery window. Skip the milk-only wash; it colors but doesn’t shine. A light sprinkling of demerara sugar adds glittering crunch that crackles under your teeth like thin ice, providing textural contrast to the soft fruit within.
Everything’s prepped? Good. Let’s get into the real action...
The Method — Step by Step
- Start by making the crust because it needs time to chill and relax, preventing shrinkage in the oven. In a large bowl whisk together three cups of all-purpose flour, two tablespoons of sugar, and a teaspoon of salt—this distributes the seasoning so you don’t hit a salty pocket later. Cube two sticks of cold European butter and toss the pieces in the flour, flattening them between your fingers into irregular shards. Those flat, flaky bits create layers that puff into buttery lamination, the hallmark of a professional-level crust.
- Drizzle in six tablespoons of ice water mixed with a teaspoon of apple cider vinegar, tossing with a fork just until the dough clumps. It should feel like wet sand that holds when squeezed—add more water a teaspoon at a time if needed. Divide in half, form two rough rectangles, wrap in plastic, and press gently to seal cracks. Chill at least one hour; during this time the gluten relaxes and the butter re-hardens, giving you a pliable, flaky dough instead of a tough cracker.
- Meanwhile, brown the butter for the filling. Place one stick in a light-colored saucepan over medium heat; the pale surface lets you monitor color changes. Swirl constantly as the butter foams, crackles, and finally turns chestnut brown with a nutty aroma that makes you want to bottle it as perfume. Immediately pour into a heatproof bowl to stop cooking; those tiny black specks are toasted milk solids loaded with caramel flavor.
- Peel, core, and slice apples to four-millimeter thickness using a mandoline for consistency. In a giant bowl toss the slices with brown sugar, spices, cornstarch, a tablespoon of bourbon, and the cooled brown butter. Let them sit for twenty minutes; this maceration draws out excess juice, which then mingles with sugar and starch to form a glossy, sliceable filling instead of a soupy mess.
- Heat oven to 400°F (205°C) with a rack set in the lower third; this position ensures the bottom crust crisps before the top over-browns. Roll out the larger piece of dough on a floured surface into a rectangle two inches bigger than your half-sheet pan all around. Transfer by rolling it loosely onto the pin, then unrolling it over the pan, pressing gently into corners and leaving an overhang.
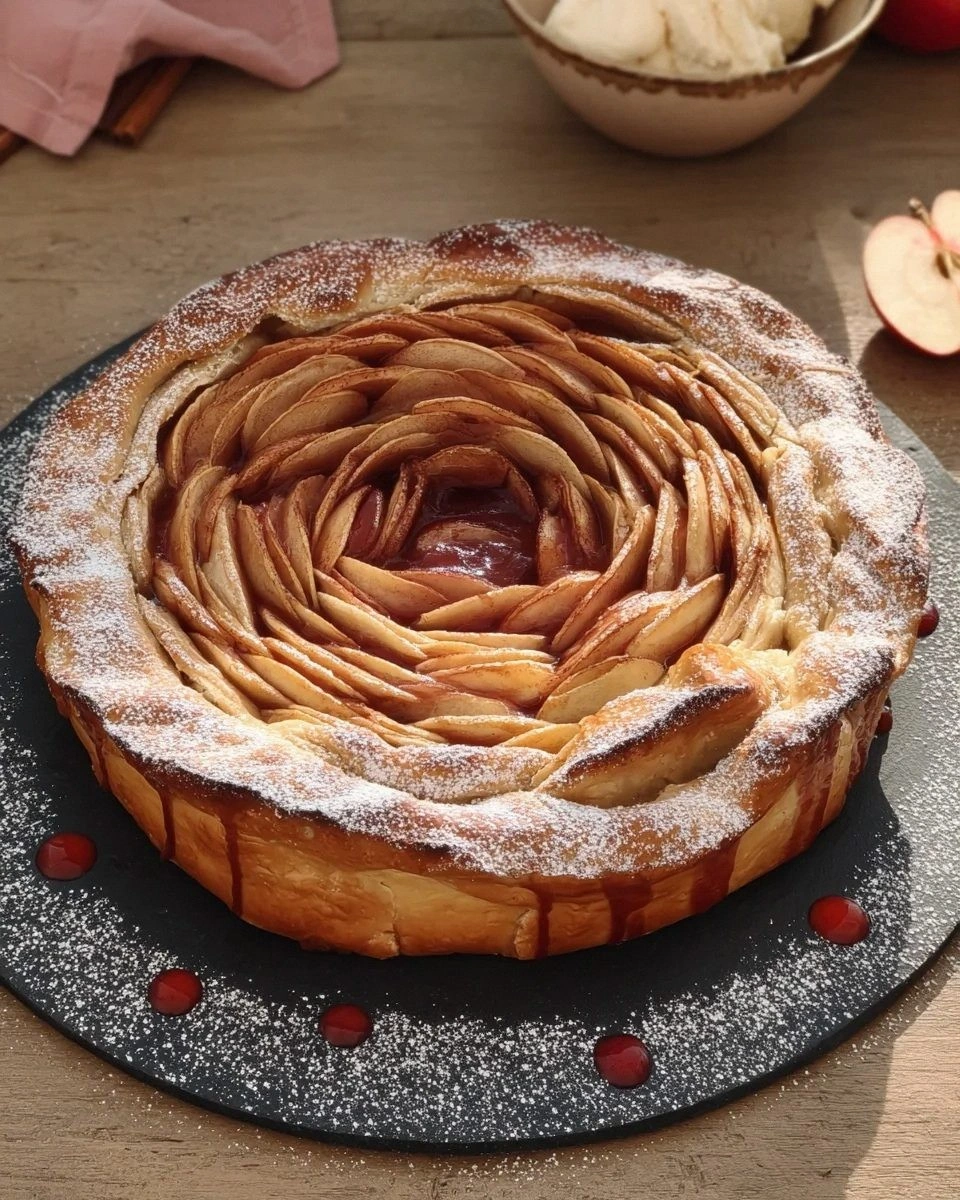
- Sprinkle a thin layer of crushed cornflakes over the base; think of it as edible paper towels that sop up rogue juices and add subtle crunch. Arrange apple slices in overlapping rows, stacking them like dominoes until the filling mounds proudly above the rim. The shingling not only looks gorgeous, it creates structural integrity so the slices don’t slump when you cut the pie.
- Roll out the second dough piece and drape it over the filling. Fold the bottom overhang up and over the top edge, then crimp with your fingers to seal. Poke a few decorative vents with a sharp knife so steam can escape; otherwise you risk a pie explosion worthy of a food fail compilation.
- Brush the surface with egg wash and sprinkle demerara sugar for crunch. Slide onto a preheated baking sheet—this jump-starts the bottom crust—and bake for 45 minutes. If the edges brown too quickly, tent with foil. The pie is done when the top is burnished mahogany and juices bubble thickly through the vents, smelling like autumn distilled into edible form.
That's it—you did it. But hold on, I've got a few more tricks that'll take this to another level...
Insider Tricks for Flawless Results
The Temperature Rule Nobody Follows
Most bakers obsess over oven heat, but fruit temperature matters just as much. Cold apples straight from the fridge take longer to cook, leading to over-browned crust and crunchy fruit. Let your bowl of sliced apples come to room temperature while the dough chills; they’ll soften faster and finish at the same time as the crust, achieving that melt-in-your-mouth consistency. Conversely, keep your dough as cold as possible right up until it hits the oven—warm pastry means melted fat and a greasy, saggy shell.
Why Your Nose Knows Best
Professional bakers rely on timers, but home ovens vary wildly. When the scent of toasted butter and caramelized sugar drifts into the next room, start checking for doneness. Juices should gloop like lava, not run like water. If you tilt the pan and see a puddle, give it five more minutes; thick bubbles mean the cornstarch has activated and will set upon cooling, creating those clean, bakery-style slices.
The Five-Minute Rest That Changes Everything
I know, waiting feels impossible when the kitchen smells like a Yankee Candle factory, but slicing too soon equals fruit avalanche. Let the pie cool on a rack for at least five minutes; during this time starches gelatinize and juices redistribute, turning loose fruit into a cohesive filling. If you absolutely must serve hot, sacrifice one corner slice to release steam, then return the pie to the turned-off oven for five minutes to re-crisp the now-exposed filling.
Creative Twists and Variations
This recipe is a playground. Here are some of my favorite ways to switch things up:
Bourbon-Caramel Pecan Swirl
Drizzle half a cup of homemade caramel mixed with toasted pecans between the apple rows for a sticky, nutty upgrade reminiscent of turtle candy. Finish with a flurry of flaky salt on top to balance the sweetness and watch grown adults fight over corner pieces.
Cheddar in the Crust
Swap two tablespoons of flour for finely grated sharp cheddar. The cheese melts into the layers, adding savory depth that makes the apples taste sweeter by comparison—classic New England vibes without the cloying sugar overload.
Maple-Bacon Breakfast Pie
Replace half the brown sugar with maple syrup, fold in crisp bacon bits with the apples, and serve warm with a scoop of vanilla yogurt. It’s basically a lumberjack’s dream breakfast disguised as dessert.
Ginger-Pear Holiday Edition
Sub in ripe pears and add a tablespoon of freshly grated ginger plus a pinch of clove. The floral aroma screams winter holidays, and the soft pears create a custardy texture next to the flaky crust.
Spiced Chai Latte Pie
Steep a bag of chai tea in the melted butter, let it cool, then proceed as directed. Cardamom, ginger, and black pepper mingle with the apples for cozy coffeehouse vibes that pair outrageously well with whipped cream laced with espresso powder.
Mini Hand-Pie Party
Cut the dough into rectangles, spoon filling on one half, fold, crimp, and bake for twenty minutes. Portable pies mean no plates, no forks, and no shame when you eat three while standing at the kitchen counter.
Storing and Bringing It Back to Life
Fridge Storage
Cool the pie completely, then cover loosely with foil or transfer slices to an airtight container; it keeps four days in the refrigerator without turning mushy. The crust will soften slightly, but a quick five-minute blast in a 350°F oven restores shatteringly crisp edges. To avoid condensation that makes the top soggy, never cover while warm; patience, grasshopper.
Freezer Friendly
Wrap individual slices in plastic, then foil, and freeze up to two months. Reheat from frozen at 325°F for twenty minutes, shielding the edges with foil if they brown too quickly. The texture suffers a bit, but slather on a scoop of ice cream and no one complains. Pro tip: label with the date; mystery ice blocks at the back of the freezer never inspire confidence.
Best Reheating Method
Skip the microwave unless you enjoy rubber crust. Instead, place slices on a preheated sheet pan in a 350°F oven for eight minutes; the bottom re-crispers while the filling warms through. Add a tiny splash of water to the pan and tent loosely with foil to create steam, reviving the fruit without drying it out.