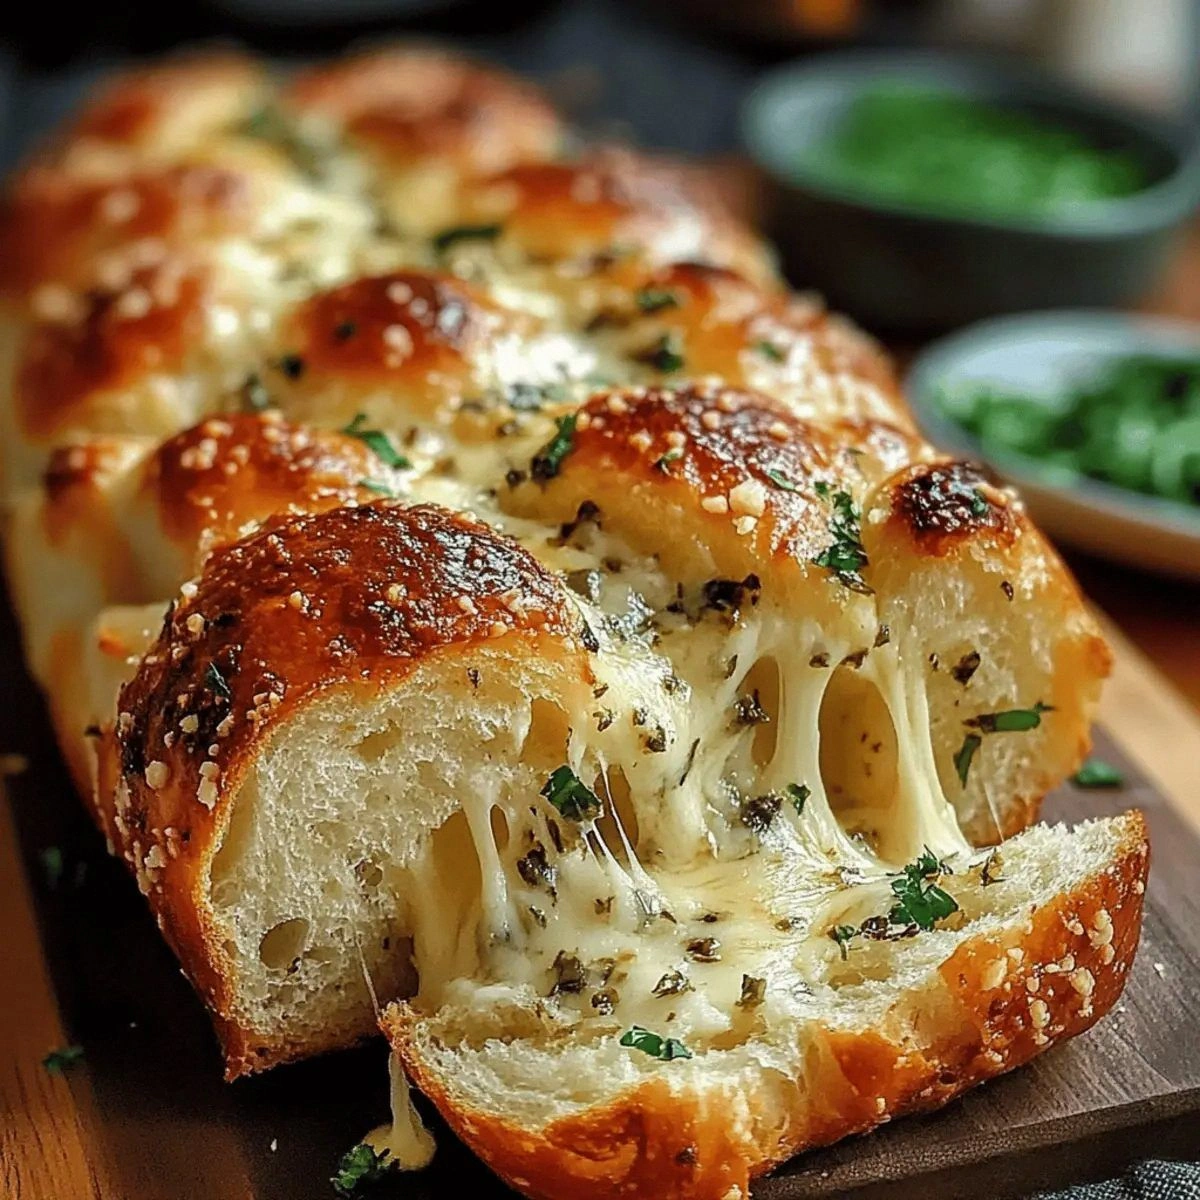
I was in the middle of a chaotic holiday dinner prep when my roommate dared me to create something that could double as a snack, a decoration, and a conversation starter—all at once. The kitchen was a battlefield of half‑baked pies, burnt gingerbread, and a rogue batch of peppermint bark that had turned into a sticky, uneven mess. I stared at the chaos, inhaled the mingling aromas of cinnamon, toasted nuts, and melting chocolate, and thought, “What if I could turn this disaster into the most unforgettable Christmas treat ever?” That thought sparked a midnight experiment that turned a simple bark into a dazzling, multi‑layered masterpiece that even the toughest cookie‑monster in the family couldn’t resist.
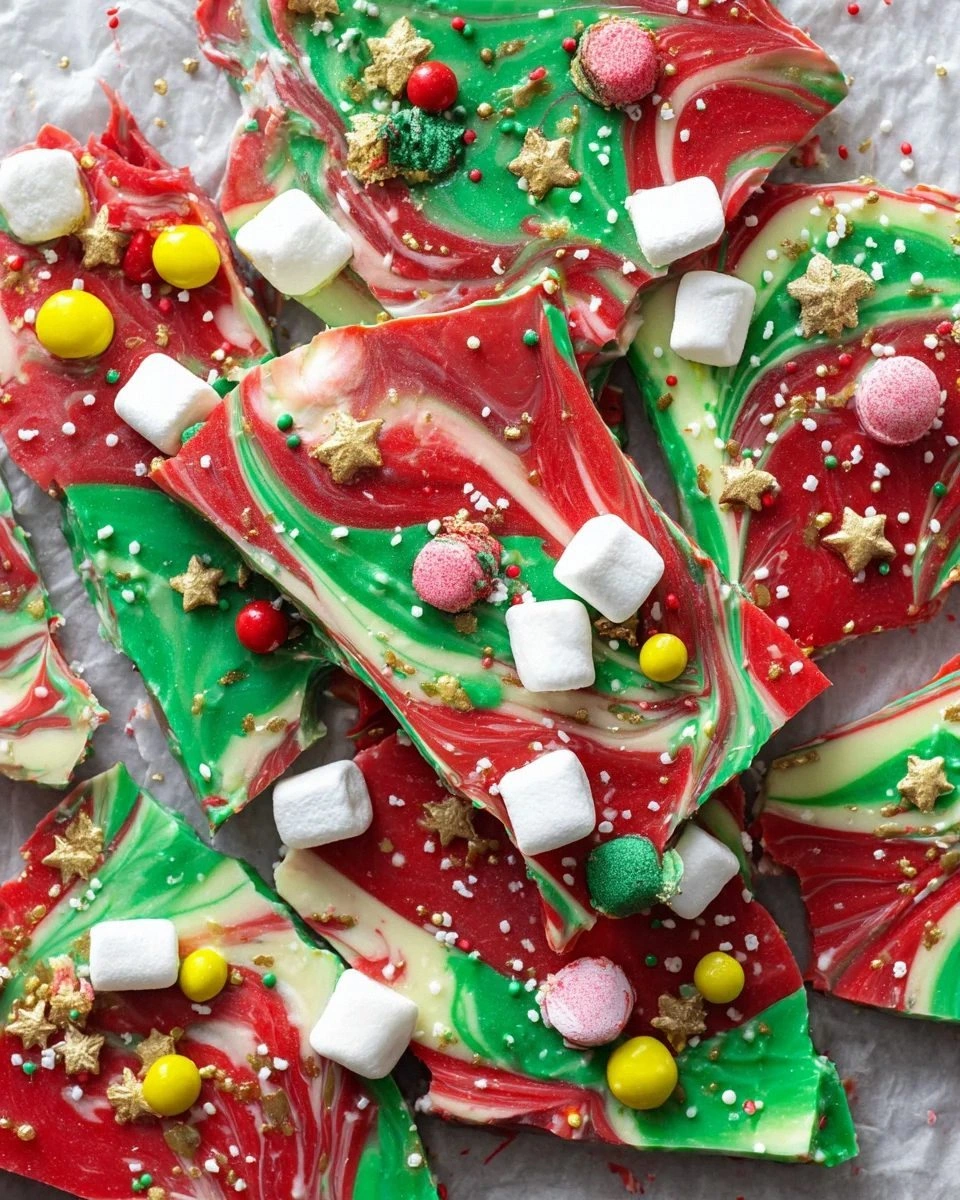
Picture this: a glossy white chocolate base that spreads like a silky lake, a ribbon of emerald green that shimmers like fresh pine needles, and a bold red swirl that looks like tiny fireworks frozen in time. The whole thing is studded with candy‑cane shards that crack under your teeth, colorful sprinkles that pop like confetti, and mini marshmallows that melt into chewy clouds. When you bite into it, the first sensation is the snap of the chocolate crust, followed by a buttery melt that releases a burst of minty‑sweetness, then a playful crunch of candy and a soft, pillowy chew that lingers on the palate. It’s a symphony of textures and flavors that screams festive joy.
Most Christmas bark recipes get this completely wrong—they either drown the chocolate in too many toppings, making it soggy, or they skimp on the visual appeal, resulting in a bland slab that looks like a melted candle. My version flips the script by layering three distinct chocolate colors, each set at the perfect temperature to stay crisp, and then adding toppings in a strategic order that preserves crunch while ensuring every bite looks as good as it tastes. The secret? A quick tempering trick that locks in shine and snap, plus a timing hack that prevents the candy from melting into a sugary puddle.
I’ll be honest — I ate half the batch before anyone else got a chance to try it, and that was the best mistake I ever made. The only thing better than the taste is the look on people’s faces when they see a glossy, jewel‑tone bark glistening on the holiday buffet. I dare you to taste this and not go back for seconds; it’s hands down the best version you’ll ever make at home. Let me walk you through every single step — by the end, you’ll wonder how you ever made it any other way.
What Makes This Version Stand Out
- Flavor Harmony: The trio of white, green, and red chocolates creates a balanced sweet‑mint‑cocoa profile that hits every festive note without overwhelming the palate.
- Texture Trio: A crisp chocolate shell, crunchy candy‑cane shards, and chewy marshmallows give you three distinct sensations in one bite.
- Simplicity: Only seven ingredients, no fancy equipment—just a microwave or double boiler and a silicone baking mat.
- Visual Wow Factor: The layered colors look like a miniature Christmas tree, making it a perfect centerpiece for any holiday spread.
- Crowd Reaction: Guests constantly ask for the “secret” because the bark looks store‑bought yet tastes homemade.
- Ingredient Quality: Using high‑quality couverture chocolates guarantees a glossy finish and a melt‑in‑your‑mouth feel.
- Make‑Ahead Magic: Once set, it stores beautifully for up to two weeks, retaining its snap and sparkle.
- Customizable Canvas: Swap out candies, add dried fruit, or drizzle caramel for endless variations.
Inside the Ingredient List
The Flavor Base
White chocolate is the creamy canvas that carries the sweet foundation of this bark. Its buttery notes provide a neutral stage for the bolder green and red chocolates to shine without clashing. Skipping it would leave you with a bitter, unbalanced bite that feels more like a candy‑coated disaster than a festive treat. If you’re dairy‑free, opt for a high‑quality white cocoa butter blend; it will still give you that velvety melt.
The Colorful Crew
Green chocolate, often flavored with mint, adds a refreshing contrast that cuts through the sweetness of the white base. It’s the reason the bark feels like a winter wonderland on the tongue. Red chocolate, usually a cocoa‑cocoa mix with a touch of beet or natural coloring, brings a deep, festive richness that pairs beautifully with the minty green. If you can’t find green chocolate, melt white chocolate and stir in a few drops of peppermint extract and a pinch of green food coloring for the same effect.
The Texture Crew
Candies and candy canes are the crunchy, colorful fireworks that give the bark its visual pop and a satisfying snap. Crushed candy canes also add a minty crunch that echoes the green chocolate. Sprinkles are purely decorative but can add a subtle crunch if you choose larger sugar pearls. Mini marshmallows bring a soft, chewy counterpoint that prevents the bark from feeling too hard; they melt slightly on the warm chocolate, creating pockets of gooey delight.
The Final Flourish
A pinch of sea salt on top can elevate the sweet flavors, but it’s optional. The real magic lies in the order of adding toppings: start with the candy‑cane shards while the chocolate is still glossy, then sprinkle the marshmallows and finish with sprinkles for a layered look. This sequencing ensures each element retains its intended texture.
Everything's prepped? Good. Let's get into the real action…
The Method — Step by Step
First, gather three heat‑proof bowls for each chocolate color. Place the white chocolate in the first bowl, green in the second, and red in the third. Set a pot of simmering water on the stove, making sure the water level is low enough that the bowls sit just above it, creating a gentle double‑boiler. Heat the white chocolate, stirring constantly, until it reaches a glossy 115°F (46°C). This temperature is crucial; it ensures the chocolate stays fluid enough to spread but not so hot that it burns.
Once the white chocolate is smooth, add a teaspoon of neutral oil (like grapeseed) and stir until fully incorporated. This is the moment of pure magic—watch the chocolate become silkier, shinier, and easier to work with. Power transition: Okay, ready for the game‑changer?
Line a large baking sheet with a silicone mat. Using a spatula, pour the white chocolate onto the mat and spread it into an even layer about ¼‑inch thick. The edges should start pulling away from the mat after about 2‑3 minutes—this is your visual cue that the chocolate has set enough to hold toppings.
While the white base is still glossy, sprinkle half of the crushed candy canes over it, pressing gently so they embed without sinking. Then add a handful of mini marshmallows, letting them sit on the surface. Watch Out: If the chocolate cools too quickly, the marshmallows will melt and create soggy spots. Keep the kitchen warm or work in short bursts to avoid this.
Now, melt the green chocolate using the same double‑boiler method, aiming for a temperature of 115°F (46°C). Once smooth, drizzle it over the white base in a zig‑zag pattern, then use a clean spatula to swirl it gently, creating a marbled effect. The green should remain glossy; if it starts to set, give it a quick reheating.
- Kitchen Hack: When swirling colors, use a skewer or toothpick to create delicate ribbons—this gives a professional look without extra tools.
Repeat the melting process with the red chocolate, aiming for the same temperature. Drizzle it over the green‑white canvas, allowing the colors to mingle. Use the same swirling technique, but this time work quickly—red chocolate sets faster than the others.
While the red chocolate is still fluid, scatter the remaining crushed candy canes, the rest of the sprinkles, and a final handful of mini marshmallows. The sprinkles should sit on top, not sink, giving each bite a burst of color. Let the bark sit at room temperature for 10‑12 minutes, or place it in the fridge for 5 minutes if your kitchen is warm. You’ll know it’s ready when the chocolate feels firm to the touch and the toppings are set.
Finally, break the bark into irregular shards using your hands—this rustic look adds charm. If you prefer uniform pieces, use a sharp pizza cutter and press down gently. Store the shards in an airtight container; they’ll stay crisp for up to two weeks. And now the fun part: arrange them on a festive platter, and watch the compliments roll in.
That's it — you did it. But hold on, I've got a few more tricks that'll take this to another level, ensuring every holiday gathering becomes a showcase of your newfound bark brilliance.
Insider Tricks for Flawless Results
The Temperature Rule Nobody Follows
Most home cooks think “just melt the chocolate” and call it a day. In reality, precise temperature control is the difference between a dull, grainy bark and a glossy, snap‑ready slab. Aim for 115°F (46°C) for white and green chocolates, and 120°F (49°C) for red—this slight increase helps the cocoa butter crystallize in the right form. If you don’t have a candy thermometer, dip a fingertip into the chocolate; it should feel warm but not scalding. I once tried to skip this step and ended up with a matte, sticky mess that clumped under the weight of the toppings.
Why Your Nose Knows Best
Before you even taste the bark, your nose is already telling you if it’s on point. When the chocolate is at the right temperature, you’ll notice a faint, buttery aroma that’s richer than the raw cocoa scent. If it smells overly sharp or burnt, it’s a sign you’ve crossed the melting threshold. Trust this olfactory cue; it’s more reliable than a timer because every batch of chocolate behaves a little differently.
The 5‑Minute Rest That Changes Everything
After you finish swirling the colors, let the bark rest uncovered for exactly five minutes. This brief pause lets the chocolate surface set a thin skin, preventing the toppings from sinking. It also allows the flavors to meld—a subtle integration of mint, cocoa, and caramelized sugar that you won’t get if you cut it immediately. A friend once sliced his bark right away and ended up with a soggy bottom; the rest period solved that problem for me instantly.
Crush Candy Canes Like a Pro
Instead of tossing whole candy canes into a bag and shaking, place them between two sheets of parchment and roll a heavy skillet over them. You’ll get uniform shards without crushing the minty center into dust. Uniform shards not only look prettier but also provide a consistent crunch in every bite. The extra effort pays off when you see the glossy shards catching the light on the platter.
Seal the Deal with a Light Salt Sprinkle
A pinch of flaky sea salt right before the bark sets can transform the sweetness into a sophisticated flavor profile. The salt accentuates the chocolate’s depth and balances the sugary toppings. I love sprinkling a fine dust of fleur de sel over the final product; it adds a subtle crunch and a pop of elegance that makes guests pause and savor.
Creative Twists and Variations
This recipe is a playground. Here are some of my favorite ways to switch things up:
Nutty Noel
Swap half of the candy canes for toasted almond slivers and add a drizzle of honey over the top. The nutty crunch pairs beautifully with the minty green, while the honey adds a floral sweetness that feels like a cozy winter hug.
Citrus Sparkle
Replace the red chocolate with a bright orange or blood‑orange cocoa coating, and sprinkle candied orange peel instead of regular sprinkles. The citrus notes cut through the richness, delivering a fresh, zingy bite that awakens the palate.
Caramel Dream
After the bark has set, drizzle a thin ribbon of salted caramel over the top and sprinkle crushed pretzels. The salty‑sweet caramel adds depth, and the pretzels contribute a satisfying crunch that echoes the candy‑cane shards.
White‑Chocolate Berry Burst
Add dried cranberries and freeze‑dried raspberry pieces to the white chocolate layer before adding any other colors. The tart berries contrast the sweet white chocolate, offering a burst of flavor that feels like a holiday fruitcake in miniature form.
Spiced Holiday
Incorporate a pinch of ground cinnamon and nutmeg into the white chocolate melt, and finish with a light dusting of pumpkin spice on the final surface. This warm spice blend adds a comforting aroma that evokes the feeling of a fireplace on a snowy night.
Storing and Bringing It Back to Life
Fridge Storage
Place the bark in an airtight container lined with parchment paper. It will stay crisp for up to two weeks, though the chocolate may develop a thin bloom if exposed to temperature fluctuations. The bloom is harmless but can affect the visual appeal, so keep the container in the main compartment, not the door.
Freezer Friendly
For longer keeping, wrap the bark tightly in a double layer of plastic wrap, then seal it in a freezer‑safe bag. It can survive up to three months without losing its snap. When you’re ready to serve, let it thaw in the refrigerator for 30 minutes, then bring it to room temperature for the best texture.
Best Reheating Method
If the bark feels a bit too firm after refrigeration, place the shards on a microwave‑safe plate, add a tiny splash of water (about a teaspoon), and heat for 5‑10 seconds. The steam revives the chocolate’s gloss and restores its melt‑in‑your‑mouth feel without melting the toppings.