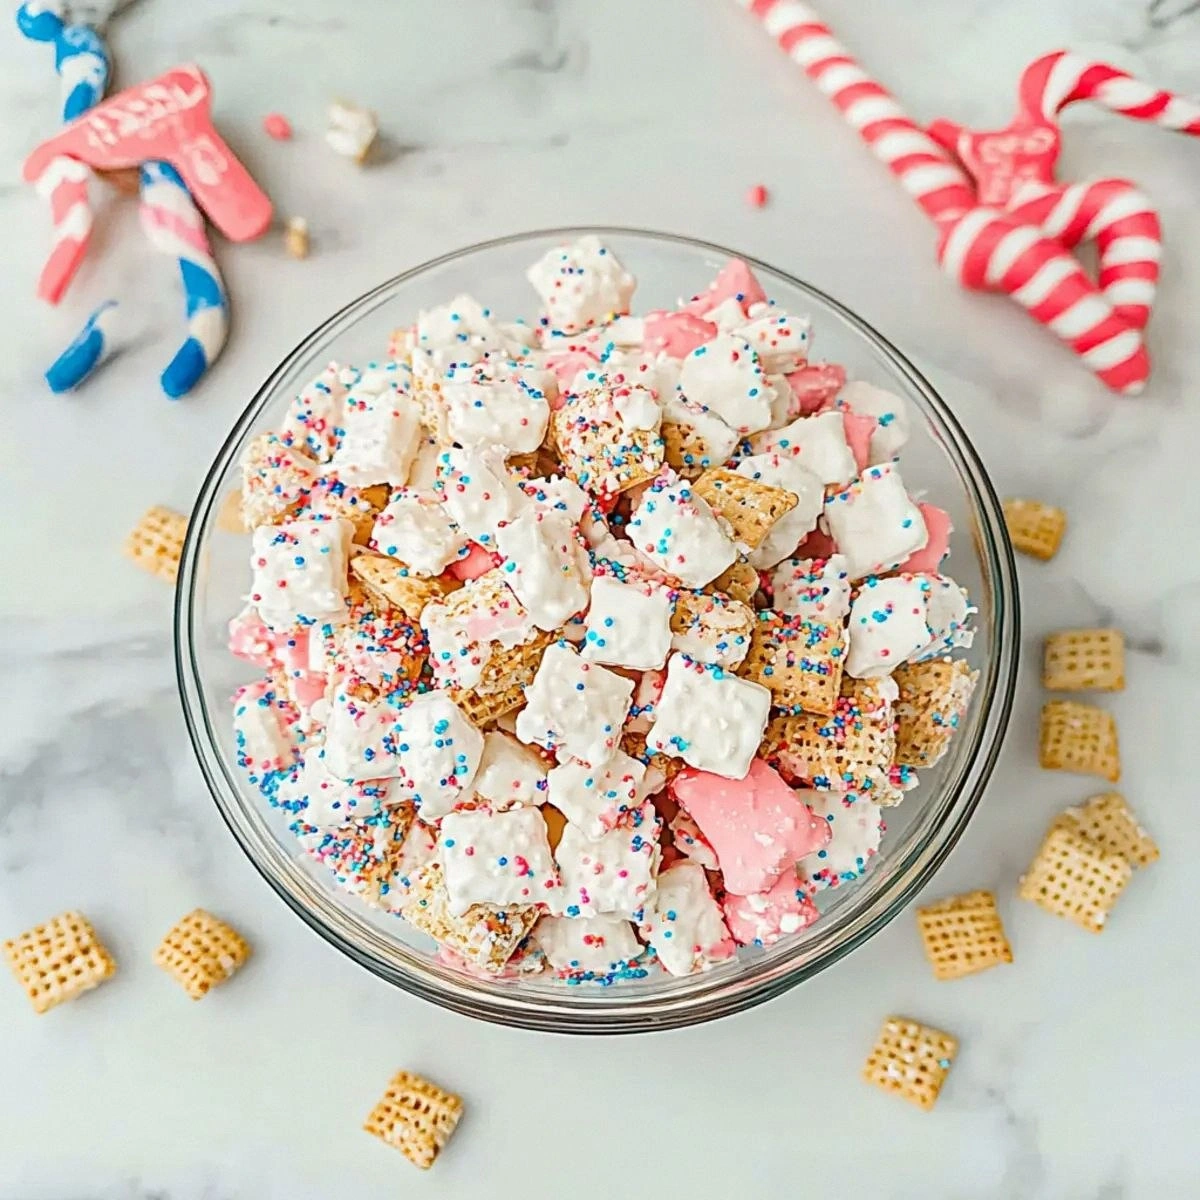
I’ll be honest — I ate half the batch before anyone else got to try it, and that was only because I couldn’t resist the bright swirl of colors and the sweet, buttery crunch that practically shouted “playtime” from the bowl. It all started on a rainy Saturday when my roommate challenged me to create a snack that could double as a party favor for the kids and a nostalgic treat for the grown‑ups who still remember those circus‑themed birthday cakes from the ’90s. I was armed with a bag of Chex Rice Cereal, a stash of frosted circus animal cookies, and a questionable amount of white candy melts that I’d rescued from the back of my pantry. The kitchen was a mess of spilled sugar and melted chocolate, but the smell that filled the air was pure, unadulterated joy — like a carnival carousel spinning in slow motion.
Picture this: the oven humming, a pot of white candy melts shimmering like fresh snow, and a bowl of cereal waiting to be drenched in a glossy, pink‑kissed glaze. My senses were on overload — the crackle of the cereal as I poured it in, the sweet perfume of frosting sugar, the glossy sheen of the melted chocolate as it pooled in the pan, and the faint, buttery whisper of the cookies crumbling under my spoon. My hands were slick with chocolate, the kitchen counter felt warm under my elbows, and the anticipation built like a drumroll before the big reveal. I could already hear the kids screaming “more!” and the adults sighing with nostalgic delight.
Most recipes for “puppy chow” or “candy-coated cereal” get the basics right but miss the magic that makes it unforgettable. They either drown the cereal in a sea of sugar, resulting in a clumpy, overly sweet mess, or they skimp on the coating, leaving each bite dry and boring. This version, however, strikes the perfect balance between sweet and crunchy, thanks to a secret weapon: a precise ratio of powdered sugar to melted candy that creates a silk‑smooth glaze that clings to every square without turning gummy. And let’s not forget the pop of color from rainbow nonpareils and the surprise crunch from chopped circus animal cookies — a texture party in every handful.
I dare you to taste this and not go back for seconds. The moment the glossy pink coating hits your tongue, you’ll feel a burst of sugary fireworks that melt into a buttery finish, while the cereal crunch echoes like a carnival drumbeat. I’m about to walk you through every single step — by the end, you’ll wonder how you ever made any other version of puppy chow. Okay, ready for the game‑changer? Let’s dive in.
What Makes This Version Stand Out
- Flavor Explosion: The combination of white candy melts and powdered sugar creates a coating that tastes like a marshmallow‑kissed frosting, while the frosted circus animal cookies add a buttery, vanilla‑rich undertone that elevates the whole snack.
- Texture Symphony: You get the airy crunch of Chex, the melt‑in‑your‑mouth softness of the candy glaze, and the surprise snap of crunchy cookie bits — three textures that play together like a well‑rehearsed circus act.
- Simplicity Meets Wow: Only nine ingredients, a single pot, and a handful of minutes of hands‑on work, yet the result feels like a professional confectionery creation.
- Visual Wow Factor: The pink glaze, rainbow nonpareils, and colorful cookie pieces turn an ordinary bowl of cereal into a vibrant centerpiece that screams “party”.
- Crowd Reaction: Kids immediately think “candy”, adults think “nostalgia”, and everyone thinks “I need the recipe”. This snack has the rare ability to bridge generations in a single bite.
- Ingredient Quality: Using real white candy melts instead of generic chocolate chips gives a smoother melt and a cleaner flavor, while the frosted circus animal cookies add a premium, buttery richness.
- Effortless Make‑Ahead: Once coated, the mixture stores beautifully for up to a week, retaining its crunch and flavor — perfect for last‑minute party planning.
- Customizable Fun: The “as desired” ingredients let you tailor the color, crunch, and flavor to match any theme, from birthday parties to Halloween spooks.
Inside the Ingredient List
The Flavor Base
The star of this recipe is the 12 ounces of white candy melts. They melt into a silky, buttery pool that coats each cereal square with a glossy sheen. If you substitute regular chocolate chips, you’ll end up with a gritty texture and a slightly bitter aftertaste, which defeats the purpose of a sweet, playful snack. For the best melt, use a double boiler or a microwave in 20‑second bursts, stirring between each burst. A pro tip: choose a brand that lists real butterfat — it makes the glaze richer and more stable.
The Texture Crew
6 cups of Chex Rice Cereal Squares provide the airy crunch that defines puppy chow. Their light, rice‑based structure means they absorb the glaze without becoming soggy, preserving that satisfying snap. If you’re allergic to rice, you can swap in puffed quinoa or corn puffs, but expect a slightly different mouthfeel. The 1.5 cups of Frosted Circus Animal Cookies are the secret crunch boosters; they crumble into buttery nuggets that add a surprise snap in every bite. Crumble them by hand for the best texture control — a food processor can turn them into powder, which defeats the purpose.
The Unexpected Star
1.5 cups of Powdered Sugar act as the stabilizer for the glaze, turning the melted candy into a smooth frosting that clings without dripping. It also adds a subtle sweetness that balances the buttery notes of the candy melts. If you prefer a less sweet version, you can reduce this to 1 cup, but you’ll lose some of that glossy finish. The as desired Rainbow Nonpareils are the visual fireworks — tiny, colorful sugar beads that add a delicate crunch and a burst of color. Feel free to experiment with colored sprinkles or edible glitter for a different aesthetic.
The Final Flourish
The 1 cup of White Chocolate Chips is reserved for the finishing drizzle that adds a glossy, chocolatey contrast to the pink glaze. Melt them separately and drizzle over the finished bowl for a professional look. As desired Red Gel Food Coloring gives the signature circus pink hue; a few drops are enough, but add more if you want a deeper shade. Finally, as desired Chopped Circus Animal Cookies and as desired Crushed Nuts or Other Cookie Varieties let you customize the crunch factor and flavor profile — think toasted almonds for a nutty twist or extra cookie bits for a double‑cookie punch.
Everything's prepped? Good. Let's get into the real action…
The Method — Step by Step
Start by measuring 6 cups of Chex Rice Cereal into a massive mixing bowl. Spread the cereal out so it forms a thin, even layer — this ensures each piece gets an equal coating later. I like to give the bowl a gentle tap on the counter; that little “thud” lets you hear the crispness of the cereal, a good early sign that you’ve got fresh, crunchy pieces.
Next, crumble the 1.5 cups of Frosted Circus Animal Cookies by hand. Aim for bite‑size chunks, not powder. The larger pieces will stay distinct after coating, giving that surprise snap we talked about. If you’re feeling adventurous, reserve a handful of the crumbs for a garnish later — they’ll add a decorative touch on top.
Now comes the glaze. In a medium saucepan, combine the 12 ounces of White Candy Melts with 1.5 cups of Powdered Sugar. Add a splash of vegetable oil (about 1 teaspoon) and stir over low heat. As the candy melts, you’ll notice it transition from opaque to a glossy, creamy liquid. This is the moment of truth: keep the heat low and stir constantly, or you’ll end up with a grainy mess.
Kitchen Hack: Use a silicone spatula to scrape the sides of the pan; it helps prevent scorching and keeps the glaze silky.While the glaze is melting, add a few drops of Red Gel Food Coloring to achieve that circus‑pink shade. The color intensifies as the glaze cools, so start with a modest amount (about 5‑6 drops) and adjust to your preference. Stir until the hue is uniform; you should see a glossy pink that looks like fresh cotton candy.
Once the glaze is smooth and glossy, remove the pan from heat. Immediately pour the glaze over the prepared cereal and cookie chunks. Using a large wooden spoon, fold the mixture gently but thoroughly. You’ll hear a soft “whoosh” as the glaze envelops each piece, and the scent will shift to a sweet, buttery perfume that fills the kitchen.
Now, sprinkle in the as desired Rainbow Nonpareils and the as desired Chopped Circus Animal Cookies. The nonpareils add a pop of color, while the extra cookie bits give a textural surprise. Fold again just enough to distribute them evenly; you don’t want to over‑mix, or the coating could become gummy.
Transfer the coated mixture onto a large parchment‑lined baking sheet. Spread it out in an even layer; this step is crucial for preventing clumping as the glaze sets. Let it sit at room temperature for about 15‑20 minutes, or until the glaze hardens to a matte finish. If you’re impatient, a quick 5‑minute stint in a 200°F (93°C) oven will speed things up, but keep a close eye — you don’t want the nonpareils to melt.
Watch Out: Do not refrigerate the mixture before the glaze sets; the cold will cause the chocolate to bloom, creating a white, powdery surface.While the base glaze sets, melt the 1 cup of White Chocolate Chips in a separate microwave‑safe bowl (20‑second bursts, stirring in between). Once melted, drizzle the chocolate over the hardened puppy chow in a zig‑zag pattern. This adds a visual contrast and a secondary flavor layer that feels like a surprise encore.
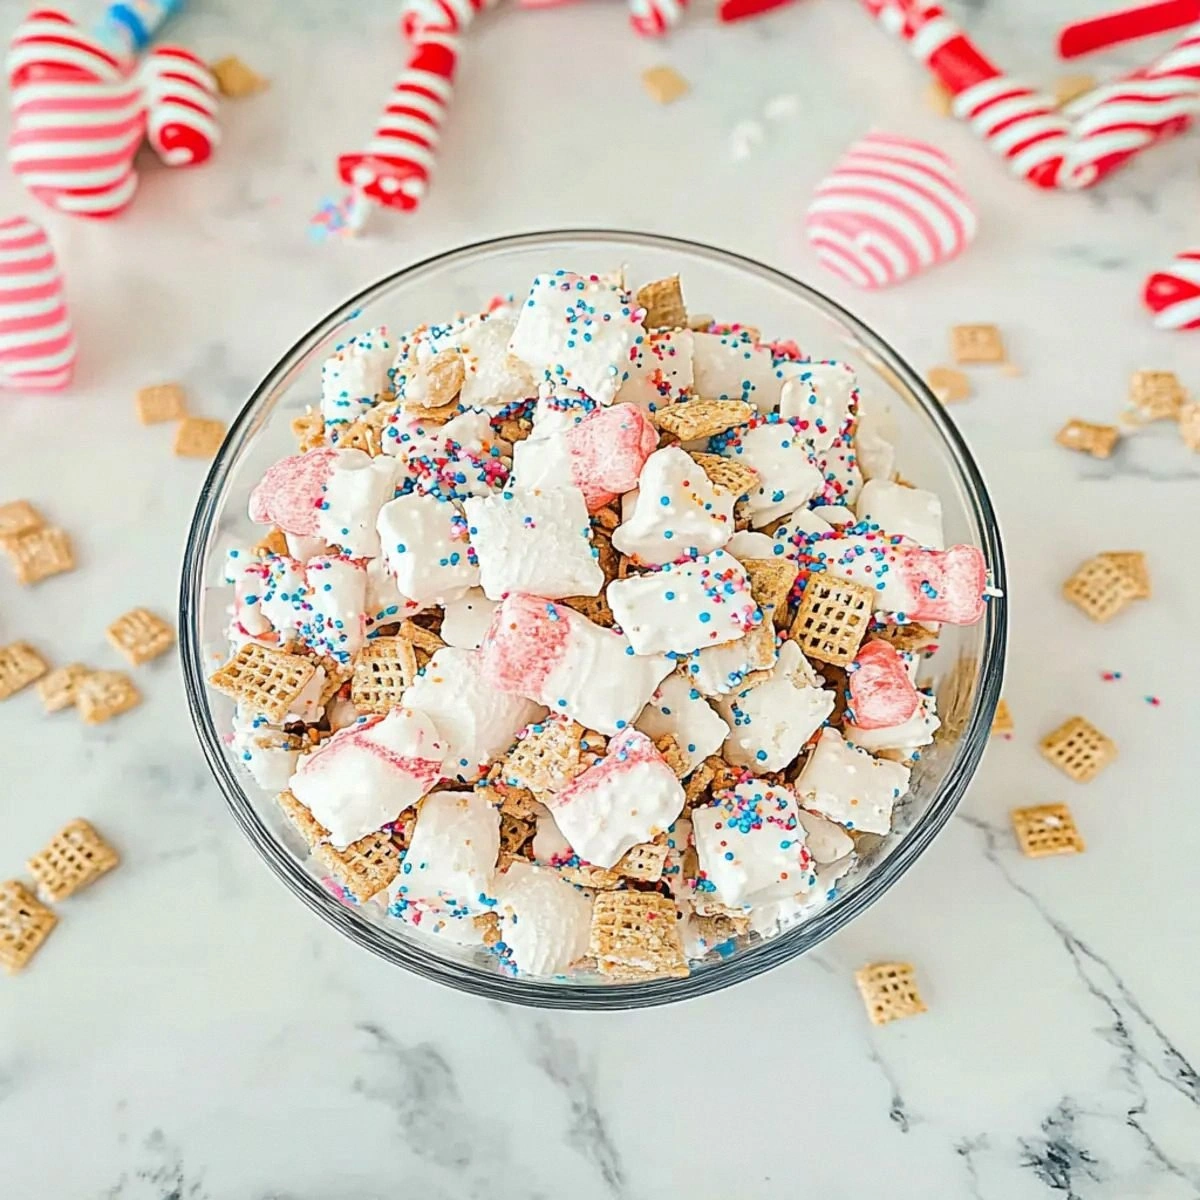
Finally, give the whole bowl a generous sprinkle of as desired Crushed Nuts or Other Cookie Varieties. Toasted almonds, pecans, or even pretzel bits work beautifully. The final product should look like a colorful carnival tent made of sweet, crunchy clouds. Let it cool completely before serving, then scoop into individual bowls or a communal serving dish.
That's it — you did it. But hold on, I've got a few more tricks that'll take this to another level…
Insider Tricks for Flawless Results
The Temperature Rule Nobody Follows
Most home cooks think “just melt the candy and pour it”. In reality, the temperature of the glaze determines whether it will coat or clump. Keep the melt at a gentle 115‑120°F (46‑49°C); any hotter and the sugar will caramelize, any cooler and it will set too quickly, leaving dry spots. I once tried to speed things up by using high heat, and the result was a burnt, bitter glaze that no amount of sugar could fix. Use a candy thermometer for precision, and you’ll get a glossy, even coating every time.
Why Your Nose Knows Best
The aroma of the glaze is a reliable indicator of readiness. When the butter‑rich scent becomes pronounced and you can detect a faint vanilla note, the glaze is at its perfect consistency. If you smell a metallic or burnt odor, you’ve overheated it. Trust your nose more than a timer — it’s the oldest kitchen sensor we have.
The 5‑Minute Rest That Changes Everything
After coating, let the mixture rest uncovered for exactly five minutes before spreading it on the parchment sheet. This short pause allows the glaze to thicken just enough to cling without sliding off. Skipping this step leads to a soggy texture, while over‑resting can cause the coating to harden into a brittle shell.
The Crunch Booster
If you love extra crunch, toast the crushed nuts for 3‑4 minutes in a dry skillet before sprinkling them on top. The toasting releases oils and deepens the nutty flavor, turning a simple garnish into a flavor powerhouse. My friend tried adding raw nuts and complained they tasted “flat”; a quick toast solved that problem instantly.
The Color Consistency Trick
When using gel food coloring, always add it to the melted glaze before any powdered sugar. Gel colors blend more evenly in a liquid base, preventing streaks. If you add it after the sugar, you’ll end up with pink speckles rather than a uniform hue. A single swirl of the gel at the beginning is all you need for a flawless pink canvas.
Creative Twists and Variations
This recipe is a playground. Here are some of my favorite ways to switch things up:
Tropical Twist
Swap the rainbow nonpareils for toasted coconut flakes and add a dash of pineapple‑scented gelatin to the glaze. The result is a sunny, island‑inspired snack that pairs perfectly with a summer barbecue.
Chocolate‑Covered Circus
Replace the white candy melts with milk chocolate melts and use dark chocolate chips for the drizzle. Add a sprinkle of sea salt on top for a sweet‑salty contrast that feels like a grown‑up version of the classic snack.
Nutty Nutcracker
Incorporate chopped hazelnuts and almond slivers, and use a caramel‑infused glaze (add a tablespoon of caramel sauce to the melted candy). The caramel adds depth, while the nuts create a hearty crunch.
Spicy Carnival
Add a pinch of cayenne pepper to the glaze and finish with a drizzle of white chocolate infused with a hint of cinnamon. The subtle heat surprises the palate without overwhelming the sweet base.
Holiday Cheer
Swap the pink glaze for a red‑green combination: use red gel coloring for half the glaze and green food coloring for the other half, then swirl them together. Top with crushed peppermint candies for a festive twist.
Storing and Bringing It Back to Life
Fridge Storage
Store the finished puppy chow in an airtight container in the refrigerator for up to 5 days. The cool environment keeps the glaze from softening, but the texture may become slightly firmer. Before serving, let it sit at room temperature for 10 minutes to regain its original crunch.
Freezer Friendly
For longer storage, portion the snack into zip‑top bags and freeze for up to 2 months. When you’re ready to enjoy, transfer a bag to the countertop and let it thaw for 20 minutes. The glaze will re‑harden, preserving the crunch.
Best Reheating Method
If the snack has lost a bit of its snap, place it on a baking sheet and warm it in a 300°F (150°C) oven for 5‑7 minutes. Add a tiny splash of water (about 1 tablespoon) to the bottom of the container before reheating; the steam will revive the glaze without making it sticky.