Remember that night when the kitchen turned into a battlefield and a pot of bland stew became a disaster? I was halfway through a slow‑cooked beef chili, only to realize I’d forgotten the spices. My friend, a self‑proclaimed chili champion, dared me to whip something up with only pantry staples and a dash of courage. I stared at the empty fridge, then at the pantry, and decided to make a vegetarian version that would outshine any meaty cousin. This is the story behind the ultimate 3‑bean chili, born from panic, daring, and a love for bold flavors.
Picture the aroma of sautéed onions and bell peppers drifting through the kitchen, their sweet scent mingling with the sharp tang of fresh lime. The sound of the skillet crackling as the oil heats up is like a drumbeat, telling you that something delicious is about to happen. Your eyes will be drawn to the vibrant colors—fiery red tomatoes, deep green poblano, golden corn—each one promising a burst of flavor. The first bite will hit your palate with a smoky depth, followed by a sweet kick from the corn and a gentle heat that lingers. Feel the comforting weight of a hearty bowl, the way it warms your hands and your soul.
This version is the ultimate because it balances heat and sweetness, texture and depth, all while remaining plant‑based and crowd‑pleasing. I swear, the combination of dark ancho, chipotle, and cumin creates a flavor profile that is both smoky and earthy, a symphony that makes every spoonful a revelation. The beans aren’t just filler; they’re the backbone, each bringing its own character—kidney beans add earthiness, black beans bring a subtle nuttiness, and refried beans provide a velvety body. The use of beer or vegetable stock adds a subtle maltiness that you’ll taste in every bite. Most recipes get this completely wrong by over‑cooking the beans or under‑seasoning the base; this one gets it right from the start.
Now, here’s a twist you might not expect: I add a splash of dark beer right after the tomatoes to deepen the color and introduce a faint hop bitterness that balances the sweetness of the corn. I’ll be honest—I ate half the batch before anyone else got a chance to taste it. I dare you to taste this and not go back for seconds. Picture yourself pulling this out of the pot, the whole kitchen smelling incredible, and serving it with a dollop of sour cream and a sprinkle of cilantro. Let me walk you through every single step—by the end, you’ll wonder how you ever made it any other way.
Before we dive into the details, let’s take a moment to appreciate the sheer joy of a pot that simmers, the way steam curls into the air, and the anticipation that builds with every stir. The sound of the chili bubbling is like a lullaby for hungry people, and the sight of the rich, glossy sauce coating the beans is a promise of comfort. I’ve spent hours tweaking this recipe to find the perfect balance between heat and sweetness, and I’m excited to share the secrets that make this dish a family favorite. If you’ve ever struggled with making a chili that’s both flavorful and vegetarian, you’re not alone—and I’ve got the fix.
What Makes This Version Stand Out
- Taste: The layered spices create a complex flavor profile that lingers on the tongue. The smoky ancho and chipotle give depth, while the cumin and coriander add earthiness.
- Texture: The beans stay plump and distinct, with a creamy base from the refried beans that ties everything together.
- Heat: The chili has a steady heat that comes from the combination of ancho, chipotle, and a touch of fresh lime, not a sudden burn.
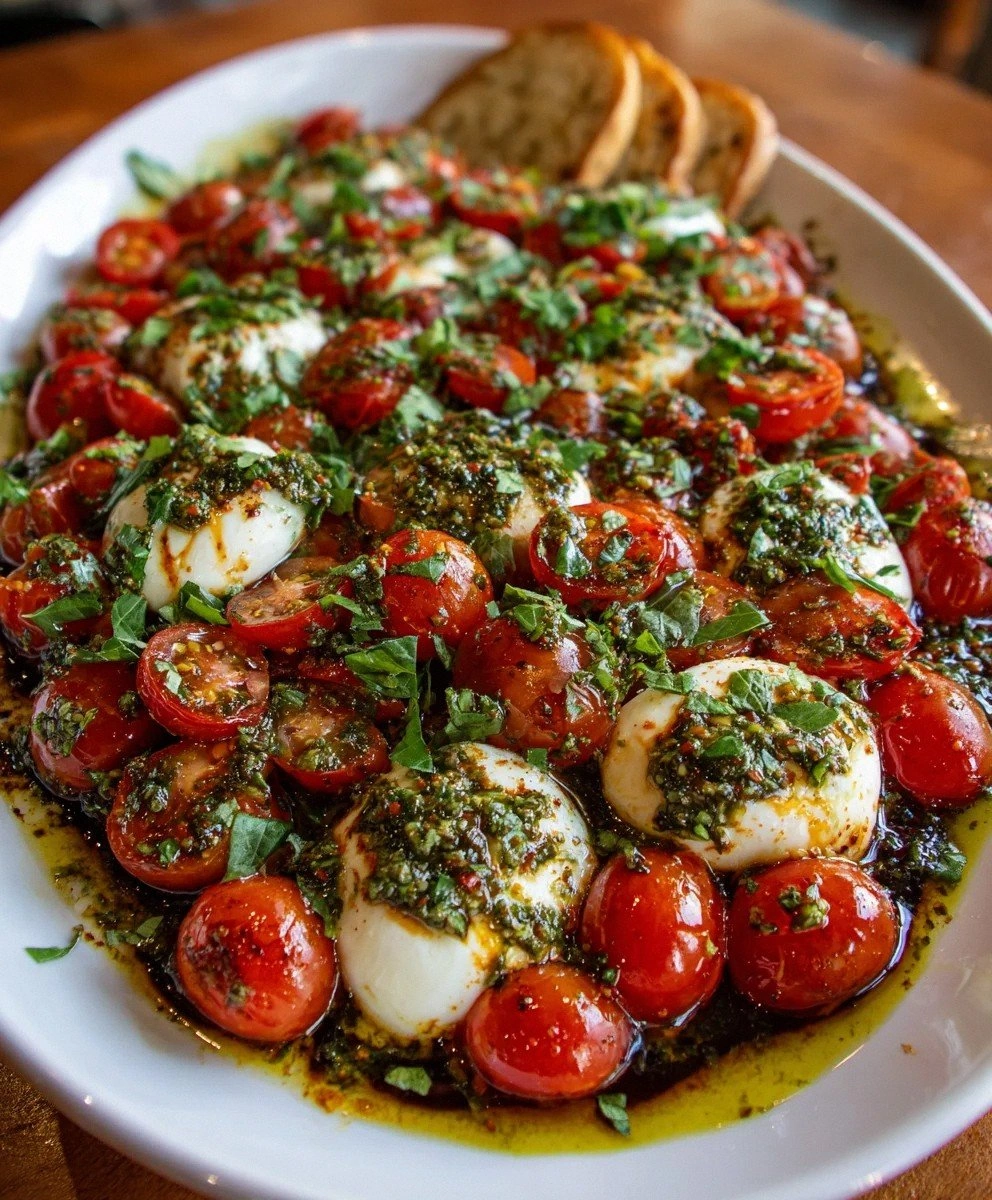
- Color: The vibrant reds and greens make the dish visually stunning, a feast for the eyes as well as the palate.
- Ease: All ingredients are pantry staples, so you can whip it up on a rainy afternoon without a grocery run.
- Make‑ahead: The chili actually tastes better the next day, making it perfect for meal prep or a busy week.
- Kid‑friendly: The mild heat and hearty beans make it a safe choice for picky eaters who still crave flavor.
Alright, let's break down exactly what goes into this masterpiece...
Inside the Ingredient List
The Flavor Base
The Flavor Base is where the soul of the chili begins, a symphony of onions, peppers, and garlic that creates a savory foundation. The large yellow onion, when sautéed until caramelized, releases a natural sweetness that balances the heat of the peppers. The combination of bell peppers and poblano pepper adds layers of smoky sweetness and a subtle peppery bite. The garlic, minced finely, infuses the oil with an aromatic punch that lingers through the cooking process. Together, these aromatics form a rich canvas for the spices that follow.
The Texture Crew
Texture matters in chili, and this recipe delivers with a trio of beans that each bring unique mouthfeel. The red kidney beans, with their firm yet creamy texture, provide a hearty base that absorbs flavors beautifully. The black beans add a slightly firmer bite and a nutty undertone that contrasts with the kidney beans. Refried beans, on the other hand, act as a velvety binder that thickens the sauce and gives the chili a silky mouthfeel. When combined, these beans create a harmonious blend of chewiness and smoothness that satisfies every bite.
The Unexpected Star
The unexpected star of this chili is the beer or vegetable stock, which adds a subtle maltiness and depth that most plant‑based dishes lack. When you pour in the 1¾ cups of stock, it infuses the tomato base with a hint of hops and a warm, earthy undertone that elevates the entire dish. If you’re vegan, a vegetable stock works just as well, and you can even add a splash of soy sauce for umami. The stock also helps balance the acidity of the tomatoes, creating a rounded flavor profile that’s both bold and comforting.
The Final Flourish
The final flourish is a burst of freshness and acidity that lifts the chili from savory to vibrant. A tablespoon of fresh lime juice, squeezed at the end of cooking, brightens the dish and cuts through the richness of the beans. A sprinkle of fresh cilantro and a dash of lime zest can add an herbal note that keeps the chili from feeling heavy. The finished dish should have a glossy sheen, the beans coated in a thick, flavorful sauce that clings to the spoon.
Everything's prepped? Good. Let's get into the real action...

The Method — Step by Step
- Heat the olive oil in a large, heavy‑bottomed pot over medium heat. Add the diced onion and cook until translucent, stirring occasionally. The onion should soften into a golden hue, signaling that the base is ready. This first stage sets the flavor foundation and ensures no burning. Keep an eye on the heat; you want a gentle sizzle, not a boil.
- Add the chopped bell peppers and poblano, followed by minced garlic. Sauté for 5 minutes, allowing the peppers to release their natural sweetness and the garlic to perfume the oil. Stir frequently so the garlic doesn’t scorch. The aroma that rises at this point is the first hint of the chili’s depth.
- Sprinkle in the dark ancho, chipotle, cumin, smoked paprika, ground coriander, and dried oregano. Stir the spices into the oil, letting them toast for 30 seconds. This step releases the essential oils of the spices, turning them from dry powders into fragrant clouds. The smell should be intoxicating, signaling that the chili is about to take a flavorful leap.
- Stir in the tomato paste, coating it with the spices. Cook for 2 minutes until the paste darkens slightly, forming a glossy base. The paste should not burn; it should caramelize gently. This creates a thick, rich foundation that will carry the beans and tomatoes.
- Pour in the diced and crushed tomatoes, beer or stock, and bay leaves. Bring the mixture to a gentle boil, then reduce the heat to a simmer. The liquid should be bubbling slowly, not a raging boil. Let it simmer for 10 minutes, allowing the flavors to meld. The aroma will become more complex as the tomatoes break down.
- Add the red kidney beans, black beans, refried beans, and corn. Stir until everything is well incorporated. Reduce the heat to low and let the chili simmer for 15 minutes, allowing the beans to absorb the sauce. This is the moment of truth; the chili should thicken slightly, and the beans should feel plump and flavorful.
- Stir in the fresh lime juice, then taste and season with salt and pepper. The lime brightens the dish, cutting through the richness. Adjust the salt to taste; a pinch of salt can bring all the flavors together. If the chili is too thick, add a splash of water or more stock.
- Remove the bay leaves, then let the chili rest for 5 minutes off the heat. This resting period allows the flavors to settle and the chili to thicken further. Serve hot, topped with your favorite garnishes—sour cream, shredded cheese, chopped cilantro, or a squeeze of lime. If you’re a fan of a little extra heat, sprinkle some crushed red pepper flakes on top.
That's it — you did it. But hold on, I've got a few more tricks that'll take this to another level...
Insider Tricks for Flawless Results
The Temperature Rule Nobody Follows
Many cooks think a high heat is the secret to a great chili, but the truth is that low and slow is where the magic happens. Keep the simmer at a gentle, steady bubble; this allows the beans to absorb the spices without becoming mushy. If the liquid reduces too quickly, add a splash of water to keep the consistency. A consistent low temperature also keeps the flavors from becoming harsh or burnt.
Why Your Nose Knows Best
Your nose is a powerful guide when cooking chili. If it smells too acidic, add a pinch of sugar or a bit more tomato paste to balance it. If it seems flat, let it simmer longer; the spices need time to release their full aroma. Trust that scent to tell you when the chili has reached its peak flavor.
The 5-Minute Rest That Changes Everything
After removing the pot from heat, let the chili sit for five minutes before serving. During this rest, the beans continue to soak up the sauce, and the flavors meld into a cohesive whole. I’ve seen chili that’s too hot right after cooking; the rest cools the heat slightly, making it more balanced.
Beans: The Secret to a Creamy Base
Using a mixture of beans, especially adding refried beans, creates a silky base that clings to each ingredient. The refried beans act as a binder, thickening the chili without the need for flour or cornstarch. If you’re vegan, opt for low‑fat or homemade refried beans for the best texture.
Toppings That Elevate the Experience
Toppings are the final flourish that can turn a great chili into a memorable meal. Try a dollop of Greek yogurt for a creamy contrast, or sprinkle shredded cheddar for a melty finish. Fresh cilantro adds brightness, while a squeeze of lime brightens the dish and cuts through the richness. Don’t forget a handful of crushed tortilla chips for a satisfying crunch.
Creative Twists and Variations
Spicy Chipotle Kick
Swap out the ancho and chipotle powders for a fresh chipotle pepper in adobo sauce. Add a handful of chopped jalapeños during step 5 to amp up the heat. This version is perfect for those who love a bold, smoky punch that lingers on the tongue.
Mexican Street Corn Chili
Incorporate roasted corn kernels, a dash of mayonnaise, and a sprinkle of cotija cheese. The corn adds a sweet crunch, while the mayo gives a creamy undertone. Serve with lime wedges for a refreshing finish.
Southwest Veggie Bowl
Serve the chili over a bed of quinoa or brown rice, topped with diced avocado, diced tomatoes, and a drizzle of hot sauce. This variation turns the dish into a wholesome bowl that’s both filling and nutritious.
Curry‑Infused Chili
Add a tablespoon of curry powder during the spice stage and a splash of coconut milk at the end. The curry gives the chili a warm, exotic flavor profile that pairs beautifully with the beans.
Smoky BBQ Chili
Replace the beer with a smoky barbecue sauce and add a pinch of smoked paprika. The result is a chili with a deep, caramelized flavor that’s reminiscent of a summer cookout.
Storing and Bringing It Back to Life
Fridge Storage
Store the chili in an airtight container for up to four days. The beans and tomatoes keep the sauce thick and flavorful. Let it cool completely before sealing to avoid condensation.
Freezer Friendly
Freeze portions in freezer‑safe containers for up to three months. Thaw overnight in the refrigerator, then reheat on the stove or in a microwave. The texture remains smooth, and the flavors deepen.
Best Reheating Method
Reheat gently over low heat, adding a splash of water or stock to restore moisture. Stir frequently to prevent scorching. The chili should reach a gentle simmer, not a rolling boil.