Why you'll love this recipe
- One‑pan, no‑bake simplicity
- 30‑minute prep time
- Crowd‑pleaser at any gathering
- Make‑ahead friendly for busy weeks
- Freezer‑friendly for future cravings
I still remember the afternoon sun streaming through the kitchen window as I whisked the Biscoff spread into a glossy whirl. The faint scent of caramelized spice mingled with the tang of cream cheese, and when I lifted the spoon, the mixture clung like velvet. My youngest grabbed the first slice, eyes widening at the creamy bite, and that moment sealed this dessert as a family favorite. A few weeks later, I served it at a casual brunch, and the guests were buzzing about the unexpected crunch of the crust paired with the silky interior. It became the talk of the table, and I’ve been tweaking the gelatin ratio ever since to keep that perfect set.
The story
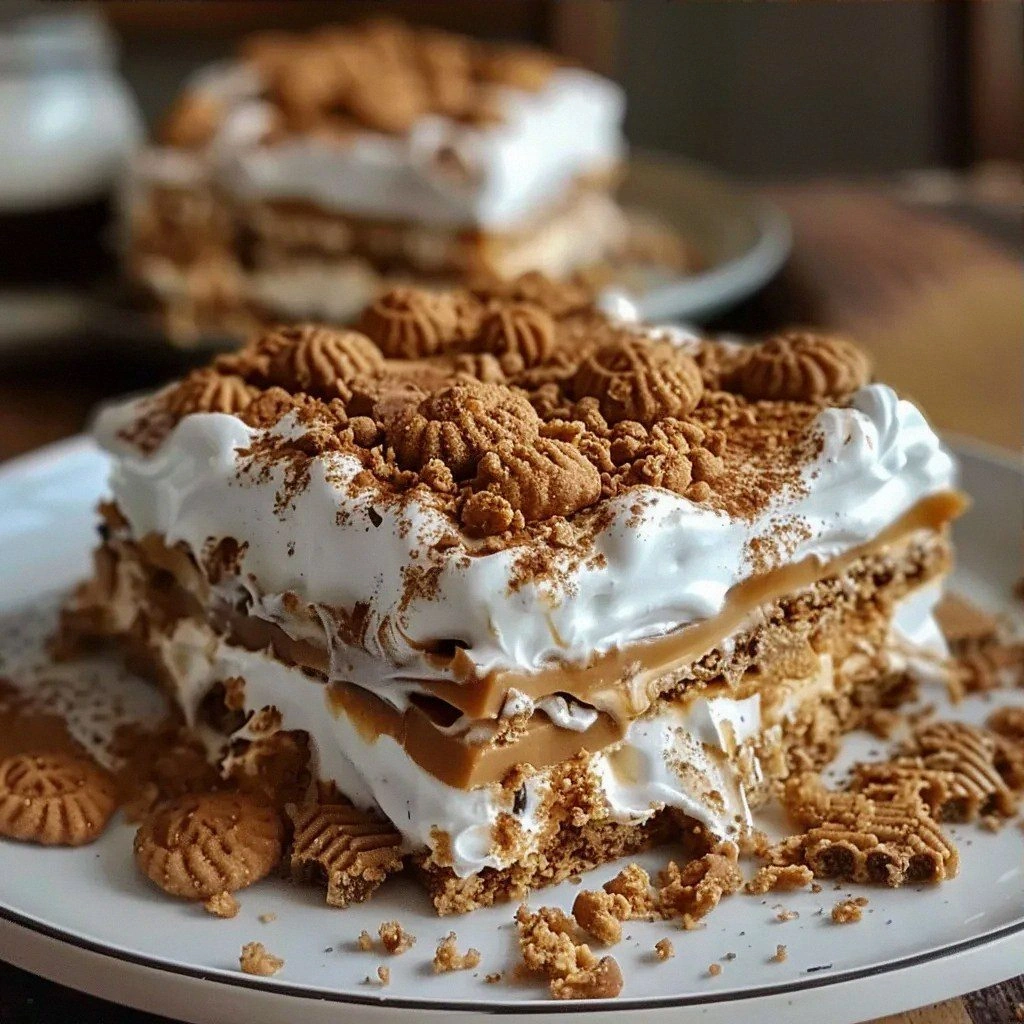
The moment the glossy Biscoff glaze meets the velvety cream cheese filling, a caramel‑spiced perfume fills the kitchen, and you can already taste the buttery crunch of the crust on the back of your tongue. A single spoonful delivers a silky, melt‑in‑your‑mouth texture that makes you pause and savor each layer.
I first discovered this no‑bake marvel at my sister’s birthday brunch, when she whisked together a handful of pantry staples and a jar of Biscoff spread in under ten minutes. Watching the mixture set without an oven felt like kitchen wizardry, and I knew I had to perfect it for my own family gatherings.
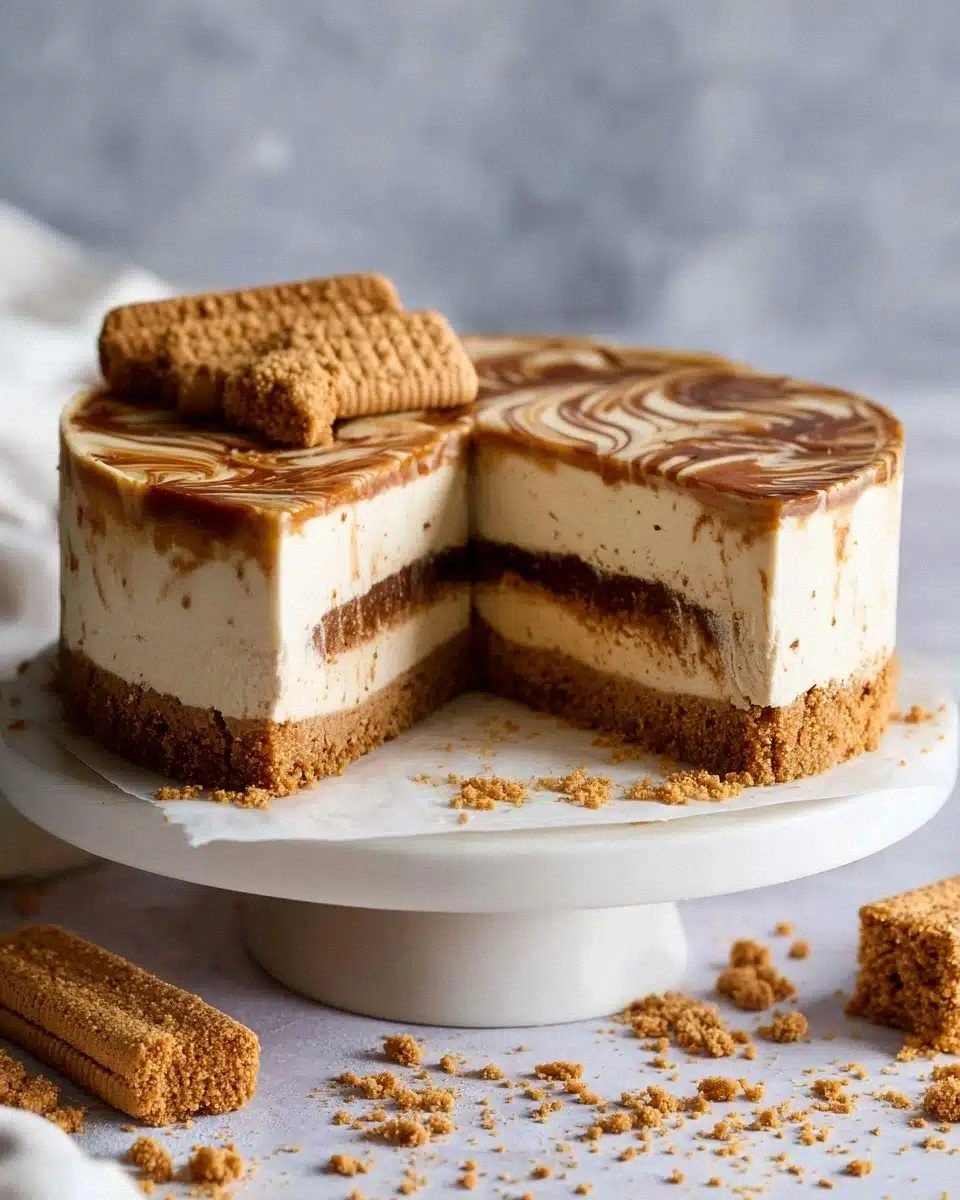
What sets this version apart is the double‑stage setting: a quick chill for the filling, followed by a brief freezer flash that locks in an ultra‑smooth mouthfeel while keeping the crust delightfully crisp. The secret is a pinch of gelatin that gives the cheesecake a firm yet creamy bite without any baking.
Expect a flavor cascade: the deep caramel notes of the Biscoff spread mingle with the tang of cream cheese, while a whisper of vanilla lifts the profile. Texturally, the creamy interior contrasts with the crumbly, buttery crust, and a light dusting of sea salt adds a subtle savory edge that balances the sweetness.
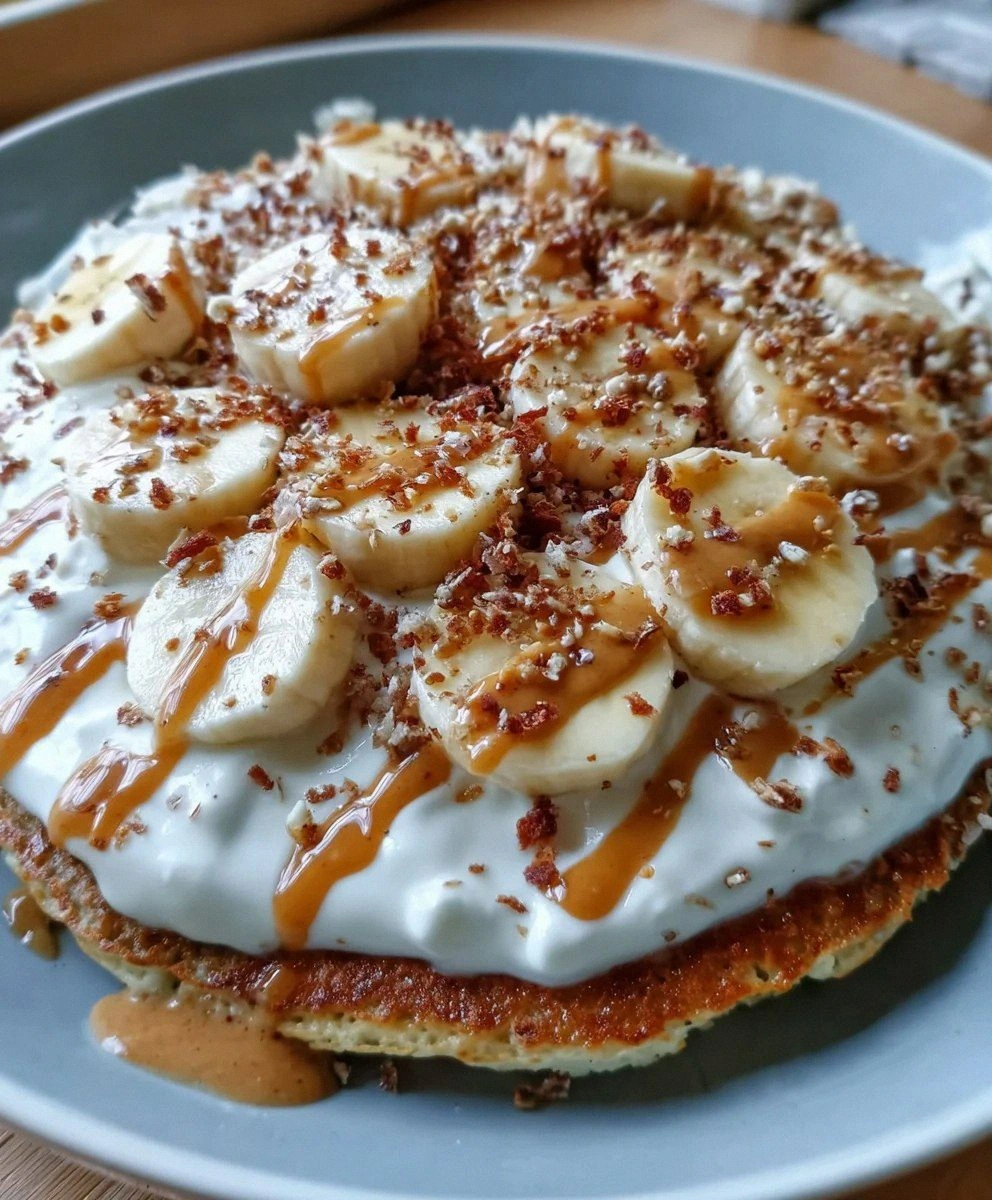
Serve this as the centerpiece of a relaxed dinner party, or slice it for a quick weekday treat that feels indulgent yet effortless. Pair it with fresh berries, a drizzle of dark chocolate, or a simple coffee on the side for an elegant finish that impresses without the stress.
Don’t let the “cheesecake” label intimidate you—there’s no oven, no heavy batter, and the only tricky step is timing the chill. With a handful of tools and a little patience, you’ll have a show‑stopping dessert in under an hour.
I’ve tested this recipe four times, each time tweaking the gelatin to perfect the set, and my kids have devoured three full sheets without a single crumb left. So grab a springform pan, and let’s dive into this no‑bake wonder.
Why This Recipe Works
- Gelatin creates a firm yet creamy set without any baking.
- Chilling the crust separately preserves its crunch and prevents sogginess.
- Whipping the cream to stiff peaks incorporates air for a light texture.
Ingredient notes & substitutions
Biscoff spread
Provides the signature caramel‑spiced, buttery flavor and a smooth texture.
Cream cheese
Adds tangy richness and structure to the filling.
Whipped cream
Lightens the filling, creating a fluffy, melt‑in‑mouth consistency.
Gelatin
Sets the cheesecake without baking, giving a firm yet creamy bite.
Graham cracker crust
Offers a buttery, crunchy base that contrasts the silky filling.
Equipment you'll need
Ingredients
Before You Start
- Soften cream cheese 30 min
- Bloom gelatin in cold water
- Crush crust cookies finely
- Line springform pan with parchment
Instructions
Pro tips
Bloom gelatin properly
Soak gelatin in cold water for 5 minutes before heating to avoid lumps.
Cool crust before filling
Allow the crumb crust to set in the fridge for 10 minutes to prevent sogginess.
Whip cream to stiff peaks
Stiff peaks keep the filling airy and prevent it from collapsing.
Use room‑temp cream cheese
Soften cream cheese before mixing for a smoother, lump‑free batter.
Flash freeze for extra firmness
Place the assembled cheesecake in the freezer for 15 minutes before the final chill.
Dust with sea salt
A light sprinkle of flaky sea salt amplifies the caramel notes.
Slice with warm knife
Run a hot, damp knife through the cheesecake for clean, neat slices.
Store crust separately
Keep the crust in an airtight container to stay crisp if you’re prepping ahead.
Variations to try
Coffee‑Infused Version
Add 2 tbsp instant espresso powder to the Biscoff spread for a mocha twist.
Vegan Swap
Replace cream cheese with vegan cream cheese, use coconut whipped cream, and agar‑agar for setting.
Mini Tartlet Bites
Press the crust into silicone muffin cups and top with individual cheesecake portions for party finger food.
Holiday Spice
Stir a pinch of ground cinnamon and nutmeg into the filling for a cozy seasonal flavor.
Serving Suggestions
Troubleshooting
If filling is runny
Add a touch more dissolved gelatin and chill longer; ensure gelatin was fully melted.
If crust is soggy
Press the crust firmly, chill before adding filling, and keep it sealed until serving.
If cheesecake cracks
Avoid sudden temperature changes; let it set slowly in the refrigerator rather than the freezer.
If flavor is bland
Increase Biscoff spread by 1‑2 tbsp and add a pinch of sea salt to heighten depth.
Storage & make-ahead
Refrigerator
Cover tightly with plastic wrap; lasts 3‑4 days in the fridge.
Freezer
Freeze in the springform pan for up to 1 month; thaw overnight in the refrigerator.
Best way to reheat
Serve chilled; if you prefer a softer texture, microwave 10‑15 seconds per slice.
Make-ahead
Assemble the crust and filling up to 24 hrs ahead; keep crust separate until just before serving.