Picture this: a kitchen that smells like a tropical vacation, the sound of sizzling, and a pot bubbling with a sauce that promises more than just flavor—it promises an adventure. I was in the middle of a dinner rush, juggling a stack of dishes and a stubborn craving for something that could turn a bland meal into a headline act. The idea hit me like a lightning bolt: why not fuse the silky sweetness of coconut milk with the boldness of Filipino aromatics? I grabbed a pack of bone‑in chicken thighs, a can of coconut milk, and a handful of spices, and I was on my way to creating a dish that would make even the most seasoned foodie gasp.
The first thing you notice is the aroma—rich, nutty, and tinged with a hint of ginger that almost feels like a warm hug. The sound of the pan is a rhythmic drumbeat, each sizzle a promise of caramelized edges that will crisp just enough to crack open with your fork. As the broth simmers, the air fills with an intoxicating blend of garlic, onion, and bay leaves, each layer unfurling like a story told in slow motion. The texture is a silky embrace; the chicken stays tender, the mushrooms absorb every drop, and the coconut milk coats everything like velvet. This isn’t just cooking—it’s a sensory symphony that turns a simple dinner into a memory.
What sets this version apart from the countless other “coconut chicken” dishes you’ll find online is its unapologetic balance between sweet and savory, the depth of umami from fish sauce, and the bright pop of lime that lifts the entire dish. I dare you to taste this and not go back for seconds. The sauce is thick enough to cling to the meat yet light enough to feel like a cloud. The combination of black peppercorns and chili flakes gives it a subtle heat that lingers without overpowering. If you’ve ever struggled with making a coconut-based dish that doesn’t turn bland, you’re not alone—and I’ve got the fix.
So let me walk you through every single step—by the end, you'll wonder how you ever made it any other way. From the moment the chicken hits the pan to the final garnish, each action is designed to unlock flavor and texture that will make your taste buds sing. Get ready for a culinary journey that feels like a secret recipe shared between friends, and trust me, it’s going to be worth every second.
What Makes This Version Stand Out
- Flavor Depth: The marriage of coconut milk and fish sauce creates a layered umami profile that lingers on the palate. The subtle sweetness balances the saltiness, while the chili flakes add a gentle heat that keeps the dish interesting.
- Texture Harmony: The chicken remains juicy and tender, thanks to the slow braising technique, while the mushrooms soak up the sauce and add a pleasant bite. The sauce itself coats the meat like velvet, creating a mouth‑watering finish.
- Ingredient Quality: Using fresh ginger and garlic instead of powders unlocks a bright, aromatic base that elevates the entire dish. The fresh cilantro or parsley garnish adds a burst of herbal freshness.
- Simple Method: No complex steps or hidden techniques—just sear, deglaze, braise, and finish. Even beginners can achieve restaurant‑level flavor.
- Make‑Ahead Friendly: The dish can be prepared ahead of time and reheated without losing its moisture or flavor, making it perfect for busy weeknights.
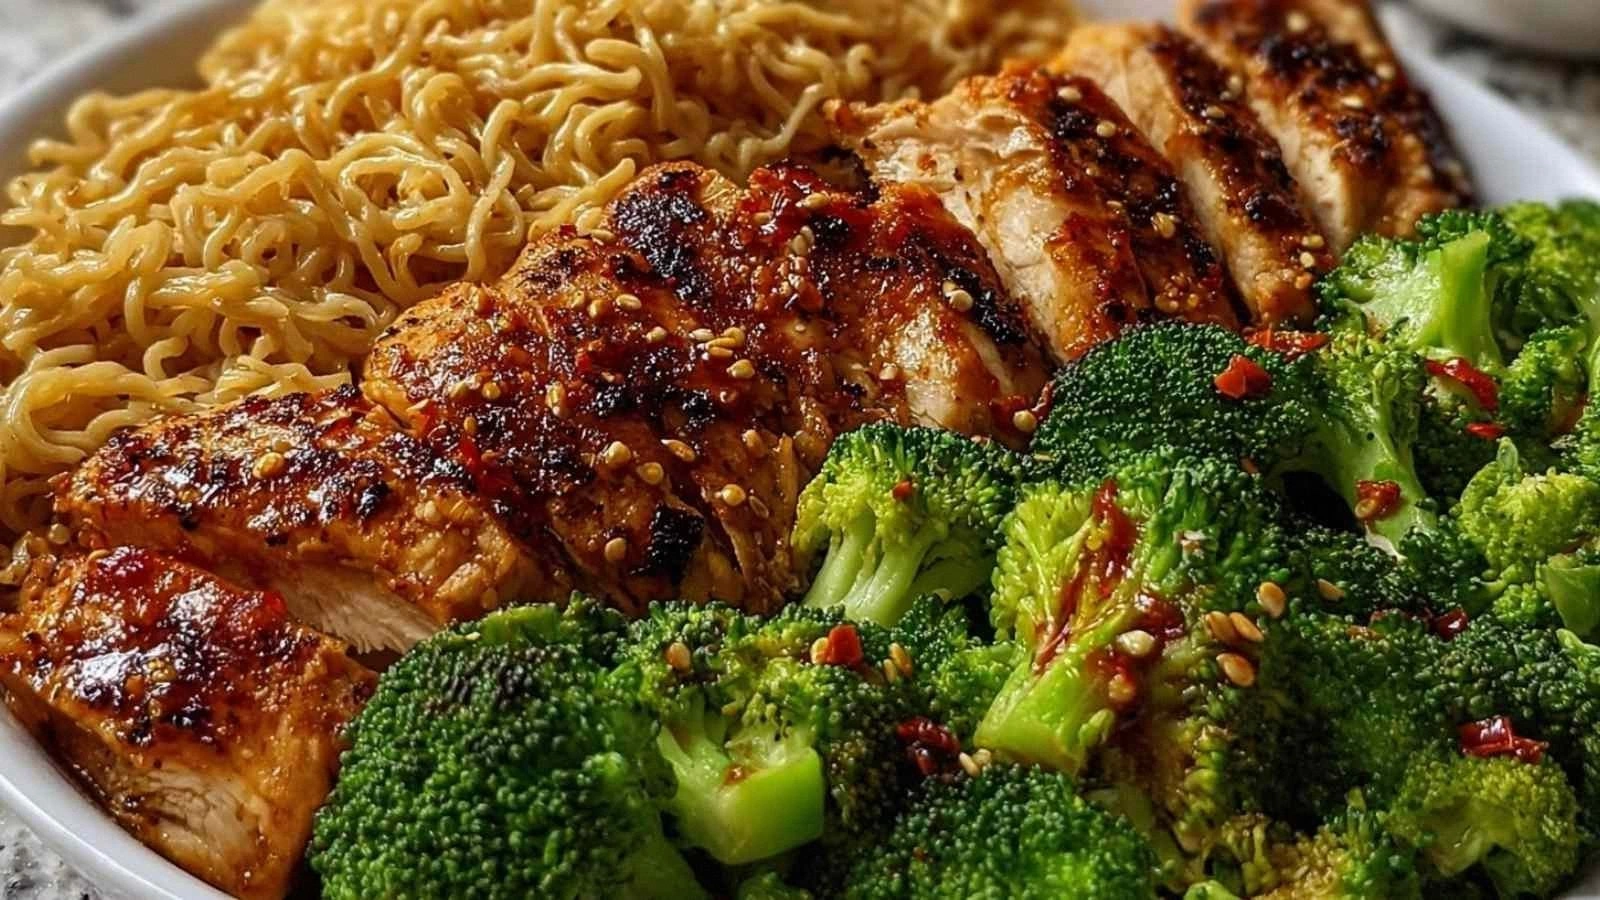
- Crowd‑Pleaser: The combination of sweet, savory, and spicy makes it an instant hit at dinner parties, especially when served over jasmine rice or steamed rice.
- Versatile Base: The sauce can be thickened into a gravy or reduced into a glaze, allowing for creative plating options.
Inside the Ingredient List
The Flavor Base
Garlic and ginger are the backbone of this dish. The garlic provides a sweet, mellow undertone, while the ginger adds a bright, peppery kick that cuts through the richness of the coconut milk. If you skip them, the sauce will feel flat and one‑dimensional. A good tip: crush the garlic cloves instead of mincing to release more aroma.
The Texture Crew
Bone‑in chicken thighs keep the meat juicy and flavorful. The bones infuse the sauce with depth, and the skin, when seared, turns slightly crisp before it softens in the braise. Mushrooms are added later to absorb the sauce and provide a meaty texture without overwhelming the dish. If you prefer a lighter version, swap the thighs for skinless chicken breasts, but expect less moisture.
The Unexpected Star
Coconut milk is the star that gives the dish its silky body. A full‑fat can ensures a luscious, creamy sauce that doesn’t separate. If you’re watching calories, a light coconut milk works, but the sauce will be thinner. The key is to let it simmer gently—high heat can cause curdling.
The Final Flourish
Fresh cilantro or parsley adds a bright, herbal finish that balances the richness. Lime wedges provide a citrusy brightness that cuts through the heaviness, and the chili flakes add a subtle heat. If you’re not a fan of heat, reduce the chili flakes to a quarter of a teaspoon. For a smoky twist, add a pinch of smoked paprika during the searing step.
Everything's prepped? Good. Let's get into the real action...
The Method — Step by Step
- Season the Chicken: Pat the thighs dry with paper towels. Sprinkle both sides with salt, pepper, and a pinch of brown sugar. This simple step caramelizes the surface and creates a sweet crust that locks in juices. As the chicken sears, it releases a savory aroma that signals the sauce is about to become extraordinary.
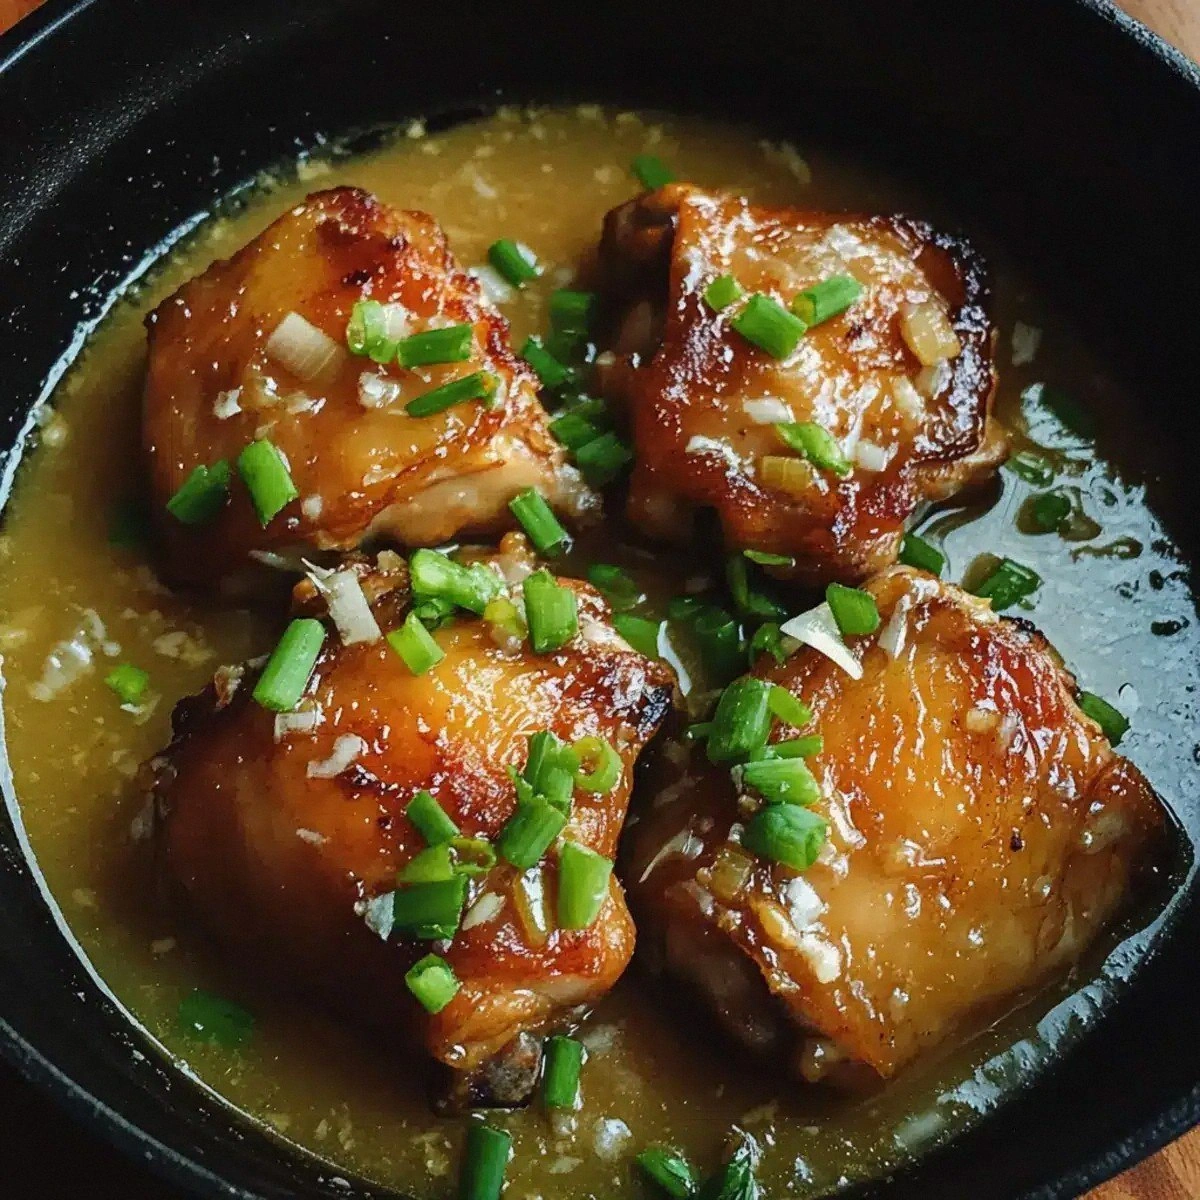
- Sear the Thighs: Heat a heavy skillet over medium‑high heat and add a splash of oil. Place the chicken skin‑side down and let it sear for 4–5 minutes until the skin is golden and crisp. Flip and sear the other side for another 3 minutes. The sear forms a flavor barrier; the edges will start pulling away when the sauce is added, indicating the right level of caramelization.
- Deglaze the Pan: Remove the chicken and set aside. Add a splash of water to the pan and scrape up the brown bits with a wooden spoon. These fond pieces are packed with flavor and will enrich the sauce. When the liquid starts to bubble, add the minced garlic and ginger, sautéing for 30 seconds until fragrant.
- Add the Aromatics: Toss in the diced onion, bay leaves, and chili flakes. Sauté for 2 minutes until the onion turns translucent and the spices release their oils. The aroma at this point should be intoxicating—think warm spice markets and tropical breezes.
- Introduce the Coconut: Pour in the can of coconut milk and stir to combine. Bring the mixture to a gentle simmer. Watch for a slight thickening; if it becomes too thin, let it reduce a bit before adding the chicken back. This step is where the sauce starts to coat the meat like velvet.
- Re‑introduce the Chicken: Return the seared thighs to the pan, nestling them into the coconut broth. Add the fish sauce, black peppercorns, and brown sugar. Reduce the heat to low, cover, and let it braise for 20–25 minutes, turning occasionally. The chicken should be tender and the sauce should have thickened to a glossy consistency.
- Final Touches: When the chicken is almost done, add the button mushrooms and let them cook for 5 minutes, absorbing the sauce. Stir in fresh cilantro or parsley and squeeze in lime wedges. The lime juice brightens the dish and balances the coconut sweetness.
- Serve: Plate the chicken thighs, spooning the sauce over them. Garnish with extra cilantro and a lime wedge. Pair with jasmine rice or steamed rice to soak up the luscious sauce. The result is a dish that feels both comforting and exotic, with a texture that melts in your mouth.
That’s it — you did it. But hold on, I've got a few more tricks that'll take this to another level...
Insider Tricks for Flawless Results
The Temperature Rule Nobody Follows
Many cooks think that a quick, high‑heat sear is enough. In reality, a lower sear temperature (around 180°C) creates a more even crust without burning the sugars. This technique ensures the sauce doesn’t develop a bitter edge, preserving the dish’s delicate balance.
Why Your Nose Knows Best
Before you add the fish sauce, give the pan a sniff test. A faint, umami aroma indicates that the aromatics have fully released their flavors. If it smells flat, let the onions cook a few minutes longer. Your nose is the ultimate flavor gauge.
The 5‑Minute Rest That Changes Everything
After braising, let the chicken rest in the sauce for 5 minutes before serving. This allows the juices to redistribute, ensuring each bite is as juicy as the first. A friend tried skipping this step once—let's just say the meat felt oddly dry.
The Perfect Garnish
A sprinkle of toasted coconut flakes adds a nutty crunch that contrasts the silky sauce. Toast them in a dry pan until golden, then add a pinch to each plate. It’s a subtle touch that elevates the dish to gourmet status.
The Secret of Brightness
Squeeze the lime wedges just before serving, not during braising. The acidity cuts through the richness and keeps the sauce from feeling heavy. A squeeze of fresh lime is the secret that turns a good dish into a great one.
Creative Twists and Variations
This recipe is a playground. Here are some of my favorite ways to switch things up:
Spicy Tamarind Twist
Add a tablespoon of tamarind paste to the sauce for a tangy, slightly sweet flavor that pairs beautifully with the coconut. This variation is perfect for those who love a sour kick.
Crispy Coconut Crust
After braising, transfer the chicken to a preheated oven at 200°C for 10 minutes to crisp the skin. The result is a crunchy exterior that contrasts the tender interior.
Vegetarian Version
Replace the chicken with thick slices of tempeh or seared tofu. The tofu will absorb the coconut sauce, delivering a protein‑rich, plant‑based alternative that still feels indulgent.
Gluten‑Free Gravy
Finish the sauce with a splash of coconut cream and a pinch of xanthan gum to thicken. This creates a silky gravy that’s completely gluten‑free and perfect for those on a low‑carb diet.
Herb‑Infused Variation
Swap cilantro for fresh basil or mint. The aromatic herbs lend a different character to the dish, making it feel like a new culinary adventure each time.
Breakfast Boost
Serve the braised chicken over a bed of fluffy quinoa and top with a fried egg. The combination of savory, sweet, and protein creates a breakfast that feels like a brunch special.
If you’re still craving more, add a drizzle of coconut caramel sauce for an extra layer of sweetness. The caramel will caramelize slightly when heated, adding a caramelized crunch that elevates the dish to dessert‑level decadence.
Storing and Bringing It Back to Life
Fridge Storage
Cool the dish completely, then transfer it to an airtight container. Store in the refrigerator for up to 3 days. The sauce will thicken slightly; reheat gently on the stove, adding a splash of water if needed to loosen it.
Freezer Friendly
Divide the dish into single‑serving portions and freeze for up to 2 months. Thaw overnight in the refrigerator before reheating. A small splash of coconut milk or water will help restore the sauce’s silky texture.
Best Reheating Method
Reheat on low heat, stirring frequently to prevent the sauce from separating. If the sauce looks thick, add a tablespoon of water or coconut milk. The goal is a smooth, glossy finish that feels freshly cooked.