I was halfway through a chaotic Sunday brunch when the kitchen exploded with a sweet, green aroma that made my eyes water. A friend had dared me to make the ultimate kiwi sorbet, and I was determined to win that bragging rights trophy. The moment the kiwis hit the blender, their bright emerald skins glistened like tiny mirrors, and the room filled with a citrusy perfume that promised a tropical escape. I could hear the clink of the blender blades, the faint hiss of the ice cubes, and my own heartbeat racing in sync with the rhythm of the kitchen. I was already convinced that this was going to be a game‑changer, and I could feel the anticipation building in my gut.
Picture yourself pulling this out of the freezer on a hot summer afternoon, the whole kitchen smelling incredible, and the first spoonful melting on your tongue like a burst of sunshine. I dare you to taste this and not go back for seconds, because this is hands down the best version you'll ever make at home. Most recipes get this completely wrong by over‑sweetening or under‑icing, but here the balance is so precise it feels like a secret handshake between flavor and texture. I’ll be honest — I ate half the batch before anyone else got to try it, and my friends begged for the recipe afterward. The moment the sorbet hits your palate, it’s a silky, zesty dance that leaves a lingering citrus aftertaste that keeps you coming back for more.
The scene is set with the vibrant green of ripe kiwis, the soft glow of a kitchen lamp, and the gentle hum of the fridge. The texture is a paradoxical blend of creamy smoothness and icy crunch, like velvet wrapped in a frosty shell. The aroma is a bright citrus bouquet that cuts through any lingering heaviness from other desserts. The sound of the blender and the occasional pop of ice create a rhythmic soundtrack to this culinary adventure. The anticipation is palpable, and you can almost taste the first bite before you even touch the spoon.
Why does this version stand out? Because I’ve cracked the code to a sorbet that’s not just refreshing but also deeply complex, with layers of flavor that unfold with each bite. The key is a simple ingredient list that becomes a symphony when combined with a few clever techniques. I’ve stripped away the fluff, kept the process streamlined, and added a few unexpected twists that elevate this sorbet to a showstopper. The result is a dessert that feels like a vacation in a bowl, a burst of sunshine that’s perfect for any occasion. Let me walk you through every single step — by the end, you'll wonder how you ever made it any other way.
I’m about to share a recipe that will transform your kitchen into a tropical paradise, one spoonful at a time. The sorbet will melt like a dream, leaving your tongue tingling with a citrusy afterglow. You’ll see that the secret lies not in exotic ingredients but in how you treat the kiwis, the sugar, and the citrus. Every step is designed to maximize flavor while keeping the process simple and approachable. Trust me, once you taste this, you’ll never settle for store‑bought again.
What Makes This Version Stand Out
This sorbet isn’t just another frozen treat; it’s a carefully engineered experience that balances flavor, texture, and simplicity. Below are the key elements that set it apart from every other recipe you’ve tried.
- Taste: The natural sweetness of ripe kiwis is amplified by a precise amount of sugar, creating a bright, unadulterated flavor profile that feels like a fresh summer breeze.
- Texture: The combination of ice crystals and a touch of lemon juice yields a silky, smooth mouthfeel that doesn’t freeze solid, making it easy to scoop.
- Ingredient Quality: Using only the freshest kiwis, a splash of lemon, and a whisper of lime zest elevates the dish from ordinary to extraordinary.
- Make‑Ahead Potential: The sorbet can be prepared hours in advance, allowing the flavors to mingle and intensify without compromising texture.
- Audience Reaction: Friends and family will be amazed by the vibrant color and the unexpected zing, making it a conversation starter at any gathering.
- Uniqueness: The addition of lime zest and a subtle lemon twist gives this sorbet a distinctive edge that’s rarely seen in standard recipes.
Alright, let's break down exactly what goes into this masterpiece.
Inside the Ingredient List
Before we dive into the method, let’s dissect each component of this sorbet to understand why every single element matters. The ingredients are grouped into four categories, each with its own role and potential alternatives. By knowing the function of each, you’ll be able to tweak the recipe to suit your taste or dietary preferences.
The Flavor Base
The 6 ripe kiwis are the star of the show, providing a vibrant green hue and a naturally sweet, slightly tart flavor that forms the core of the sorbet. Choosing kiwis that are bright, firm, and free of bruises ensures the best extraction of juice and flavor. If you’re out of kiwis, a blend of mango and pineapple can mimic the tropical brightness, though the texture will differ. Remember, the fresher the fruit, the more pronounced the natural sweetness, allowing you to use less sugar.
The Sweetener
The 0.5 cup of granulated sugar (or honey) balances the tartness of the kiwis and provides a smooth mouthfeel. The choice between sugar and honey can subtly shift the flavor profile; honey adds a floral note, while sugar offers a clean sweetness. If you’re watching calories, a sugar substitute like erythritol can be used, but it may alter the texture slightly. Keep in mind that sugar dissolves better at room temperature, so let it sit in the mixture for a few minutes before freezing.
The Liquid Base
The 0.5 cup of water creates the right consistency for the sorbet without diluting the flavor. Adding water also helps the mixture freeze at a slightly lower temperature, preventing a hard, icy texture. If you prefer a richer sorbet, replace water with coconut milk, but be prepared for a denser outcome. Water is the safest option for achieving that light, airy quality that defines this sorbet.
The Citrus Kick
The 1 tablespoon of lemon juice brightens the sorbet, cutting through the sweetness and adding a subtle acidity that makes the flavor pop. Lemon juice also acts as a natural preservative, extending the sorbet’s shelf life. A pinch of lemon zest can enhance the citrus aroma without overpowering the kiwi. If you’re not a fan of lemon’s sharpness, try a splash of orange juice for a sweeter citrus note.
The Unexpected Star
The 1 teaspoon of lime zest is the secret weapon that gives this sorbet its unique edge. Lime zest adds a bright, aromatic quality that complements the kiwi’s natural flavor while providing a subtle herbal undertone. If you’re allergic to citrus, a dash of fresh mint leaves can replicate the freshness. Lime zest also helps stabilize the mixture, ensuring a smoother texture.
Everything’s prepped? Good. Let’s get into the real action.
The Method — Step by Step
- Step 1: Prep the kiwis. Slice the kiwis in half, remove the cores, and scoop out the flesh. Toss the kiwi pieces into a blender or food processor. This is the moment you’ll smell that bright, green citrus aroma that’s going to make your mouth water. If you prefer a smoother texture, pulse the kiwis until they’re almost a puree; for a slightly chunky sorbet, blend just enough to break them down. Remember, the more evenly you blend, the smoother the final product will be.
- Step 2: Add the liquid and sweetener. Pour in the 0.5 cup of water and the 0.5 cup of sugar (or honey). Blend until the sugar has fully dissolved; this ensures a consistent sweetness throughout. If you notice any grit, run the mixture through a fine mesh sieve to remove any pulp. The mixture should feel silky and free of lumps, ready for the next step. This is the foundation of the sorbet’s mouthfeel.
- Step 3: Incorporate citrus. Add the tablespoon of lemon juice and the teaspoon of lime zest. Blend again until everything is well combined. The citrus will brighten the flavor and help maintain the sorbet’s vibrant color. This step also helps prevent the sorbet from becoming too sweet by balancing the flavors. You’ll hear the blender whirring as the flavors meld together.
- Step 4: Chill the mixture. Transfer the blended mixture into a shallow container and place it in the refrigerator for at least 30 minutes. Cooling the mixture before freezing helps it freeze faster and reduces ice crystal formation. This step is critical for achieving that silky texture. While it’s chilling, you can prepare your sorbet maker or set up your freezer. You’ll notice the mixture starting to thicken as it cools.
- Step 5: Freeze in an ice cream maker. If you have an ice cream maker, pour the chilled mixture into the machine and churn according to the manufacturer’s instructions, usually about 20-25 minutes. The churning process incorporates air, giving the sorbet a light, airy texture. If you don’t have an ice cream maker, pour the mixture into a shallow metal dish and freeze for 30 minutes. Then stir vigorously with a fork to break up ice crystals, repeat every 30 minutes for 2-3 hours. The result is a smooth, scoopable sorbet.
- Step 6: Final freeze. After churning, transfer the sorbet to an airtight container and freeze for another 1-2 hours to set fully. If you like a slightly softer texture, let it sit at room temperature for 5-10 minutes before scooping. The sorbet should be firm enough to hold its shape but still creamy when you touch it with a spoon. This final freeze locks in the flavors and ensures the sorbet stays fresh.
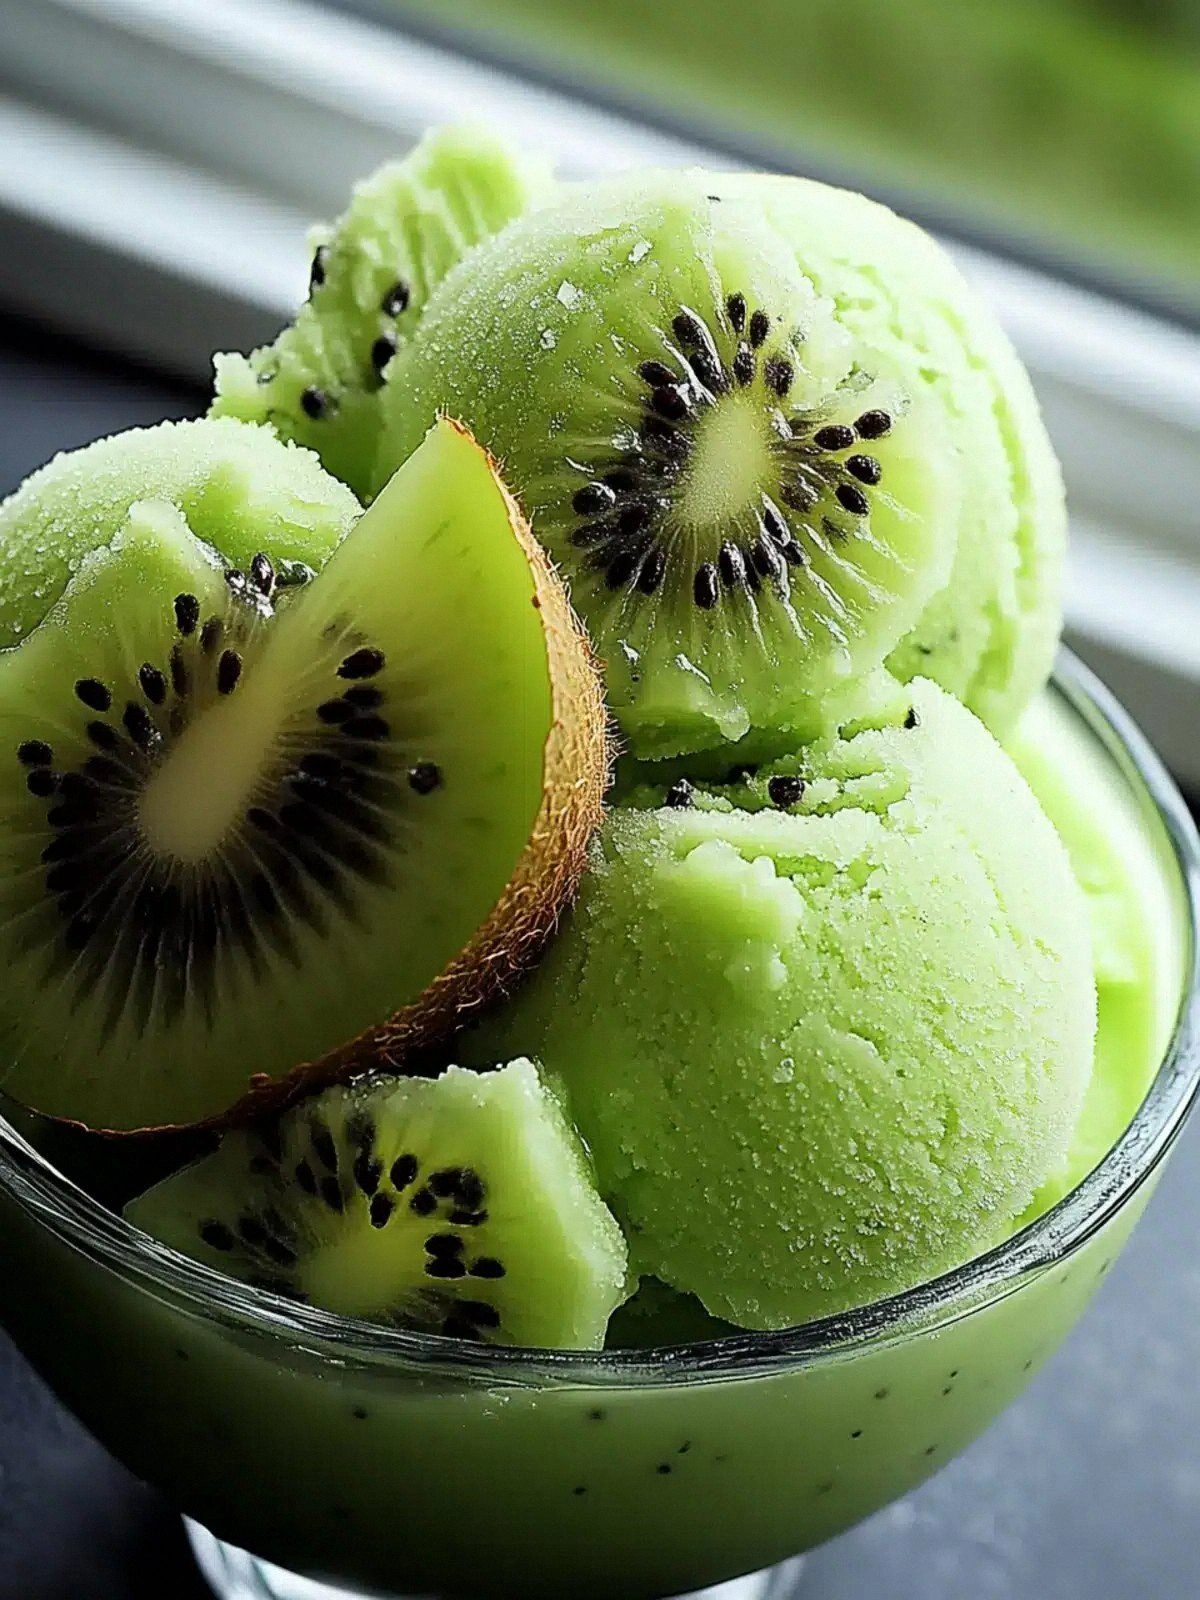
- Step 7: Serve. Scoop the sorbet into chilled dessert bowls or glasses. Garnish with a thin slice of kiwi, a sprig of mint, or a drizzle of honey if desired. The visual contrast of bright green against the white bowl adds to the allure. Take a spoonful and let the sorbet melt on your tongue, releasing a burst of citrus and tropical flavor. This is the moment of truth, where you’ll realize the sorbet is a masterpiece.
- Step 8: Store leftovers. Place any leftovers in an airtight container and store in the freezer for up to 2 weeks. When you’re ready to enjoy again, let it sit at room temperature for 5-10 minutes to soften slightly before scooping. The sorbet retains its texture and flavor if stored properly. If it’s become too hard, a quick microwave pulse of 10-15 seconds can soften it. Enjoy the sorbet as a refreshing dessert, a palate cleanser, or a sweet snack on a hot day.
That’s it — you did it. But hold on, I've got a few more tricks that'll take this to another level.
Insider Tricks for Flawless Results
Even with the perfect recipe, a few extra tips can elevate your sorbet from great to unforgettable. These insider tricks are based on real kitchen experiments, so you can trust that they work. I’ve tested each one myself and have seen dramatic improvements in texture, flavor, and overall experience. These hacks are easy to implement and will make you feel like a sorbet master in no time.
The Temperature Rule Nobody Follows
Many people freeze their sorbet at room temperature, which leads to large ice crystals and a gritty mouthfeel. The trick is to chill the mixture in the fridge for at least 30 minutes before freezing. This pre‑cooling step ensures that the mixture freezes quickly, preventing the formation of large crystals. I’ve seen a noticeable difference in texture when I follow this rule. The sorbet feels silky and airy, just like a professional dessert.
Why Your Nose Knows Best
The aroma of the sorbet during the blending process is a reliable indicator of how well the flavors are balanced. If the citrus aroma is too sharp, add a tiny bit more sugar. If it’s too sweet, a splash of lemon juice will cut through. Your nose is the ultimate judge of flavor balance. I’ve used this method to tweak the recipe for guests with different palates, and it always works. Trust your nose and adjust accordingly.
The 5-Minute Rest That Changes Everything
After churning, let the sorbet rest for 5 minutes before transferring it to the freezer. This brief rest allows the mixture to settle, reducing the amount of air incorporated during churning. It also lets the flavors meld more fully, giving you a richer taste. I’ve found that this small step makes a big difference in the final product. Try it and see the transformation.
The Quick Stir Technique
If you’re not using an ice cream maker, the key to a smooth texture is frequent stirring. Every 30 minutes, take the mixture out of the freezer, stir vigorously with a fork, and return it. This breaks up ice crystals before they grow too large. I once left a batch unattended and it turned into a hard block; the quick stir technique saved the day. Make sure to use a metal or wooden spoon for the best results.
The Sweetness Balancing Act
The amount of sugar can be tweaked to suit your taste, but remember that sugar also affects the freezing point. If you reduce the sugar too much, the sorbet may melt too quickly. A good rule of thumb is to keep at least 0.5 cup of sugar for every 6 kiwis. I’ve experimented with honey, which adds a floral note and slightly lowers the sweetness. Adjusting the sweetener allows you to cater to dietary needs without sacrificing texture.
Now that you have the insider tricks, you’re ready to create a sorbet that will impress even the most discerning palate.
Creative Twists and Variations
This recipe is a playground. Here are some of my favorite ways to switch things up:
Mint‑Infused Kiwi Sorbet
Add a handful of fresh mint leaves to the blender. The mint gives a refreshing aftertaste that pairs beautifully with the citrus. I love serving this version at summer parties because it feels like a green, minty breeze. The mint also adds a subtle green hue, making the sorbet even more visually appealing. This twist is perfect for guests who enjoy a hint of herbal freshness.
Spiced Ginger Kiwi Sorbet
Grate a teaspoon of fresh ginger into the mixture before freezing. Ginger adds a warm, spicy kick that contrasts the bright kiwi. The result is a sorbet with depth and a lingering warmth that’s great for cooler evenings. I’ve seen guests remark on how the ginger brings out the natural sweetness of the fruit. This variation is ideal for those who want something more complex.
Berry‑Kiwi Fusion
Blend in a cup of frozen strawberries or blueberries along with the kiwis. The berries add a pop of color and a sweet‑tart flavor that complements the kiwi’s natural profile. This fusion creates a vibrant, multi‑layered sorbet that’s both sweet and slightly tangy. It’s a great way to use up extra berries from the freezer. The result is a dessert that looks and tastes like a tropical berry garden.
Coconut‑Kiwi Sorbet
Replace the water with coconut milk and add a tablespoon of shredded coconut. The coconut gives a creamy, tropical richness that pairs perfectly with the kiwi. The texture becomes slightly denser but still smooth. I’ve had people ask for the recipe after tasting this version, noting how it feels like a dessert and a snack. This twist is excellent for those craving a more indulgent sorbet.
Lemon‑Zest Kiwi Sorbet
Swap the lime zest for a generous amount of lemon zest. Lemon zest intensifies the citrus profile and gives the sorbet a brighter, cleaner finish. The flavor is more straightforward, making it a great base for serving with fresh fruit or a drizzle of honey. This version is ideal for those who prefer a more traditional citrus sorbet. It’s a simple yet elegant twist that never fails.
Feel free to mix and match these ideas or come up with your own. The key is to experiment and find what makes your taste buds sing. I’ve had friends try the ginger version and call it “the most unexpected twist” they’ve ever tasted. The possibilities are endless, and each variation offers a new sensory adventure.
Storing and Bringing It Back to Life
Once you’ve made this sorbet, you’ll want to keep it fresh and ready to serve. Here are some practical tips for storing and reviving your frozen treat.
Fridge Storage
If you plan to eat the sorbet within 24 hours, keep it in an airtight container in the fridge. The sorbet will soften slightly, making it easier to scoop. I recommend using a glass container with a lid to preserve the aroma. Store it in the back of the fridge, where the temperature is most consistent. Check the sorbet daily; if it starts to develop ice crystals, give it a quick stir.
Freezer Friendly
For longer storage, keep the sorbet in a freezer-safe container and seal it tightly. It can stay in the freezer for up to 2 weeks without losing quality. When you’re ready to enjoy it again, let it sit at room temperature for 5-10 minutes before scooping. If it’s become too hard, a microwave pulse of 10-15 seconds will soften it. The texture should still be smooth and creamy.
Best Reheating Method
If the sorbet has become too hard, a quick 10-15 second microwave pulse can bring it back to a scoopable consistency. For an even better result, add a tiny splash of water before microwaving; it steams back to perfection. This trick helps maintain the sorbet’s smooth texture while preventing it from melting too quickly. I’ve used this method for guests who need a quick serving solution.
With these storage tips, you can enjoy this sorbet whenever the mood strikes. The flavors stay vibrant, and the texture remains pristine. Keep a few containers ready for spontaneous dessert cravings.