Picture this: a Saturday afternoon, the kitchen lights dimming to a soft amber glow, and the scent of yeast rising like a promise in the air. I had just finished a disastrous batch of white bread that turned out dense and flat, a culinary casualty that left me staring at the loaf with a mix of frustration and disbelief. That night, after a long day of juggling deadlines, I decided I needed a new ritual—something that would bring the comforting aroma of freshly baked bread back into my home without the heartbreak. The result was a whole wheat loaf that not only survived the test of time but also won the hearts of my family with its golden crust, tender crumb, and a subtle nutty undertone that danced on the tongue.
If you’re like me, you’ve probably tried countless variations of whole wheat bread, each promising a lighter texture or a deeper flavor, only to end up with something that feels either too heavy or too bland. This version is different because it balances the earthiness of whole wheat with a touch of sweetness, a whisper of honey, and a dash of olive oil that keeps the crumb moist and the crust crisp. The result is a loaf that feels both wholesome and indulgent—like a hug in bread form. The secret? A careful blend of flour types, a precise hydration ratio, and a timing trick that ensures the dough rises just right.
What makes this loaf stand out is not just the flavor profile but the experience it delivers. From the first crackle of the crust to the airy interior that seems to melt in your mouth, every bite feels like a small celebration. I dare you to taste this and not go back for seconds, because once you’ve experienced that perfect balance of crunch and softness, other breads will never compare. And if you’ve ever struggled to get a whole wheat loaf to rise, you’ll be relieved to know that this recipe solves that problem with a simple yet powerful technique that guarantees a fluffy interior without the risk of a soggy crust.
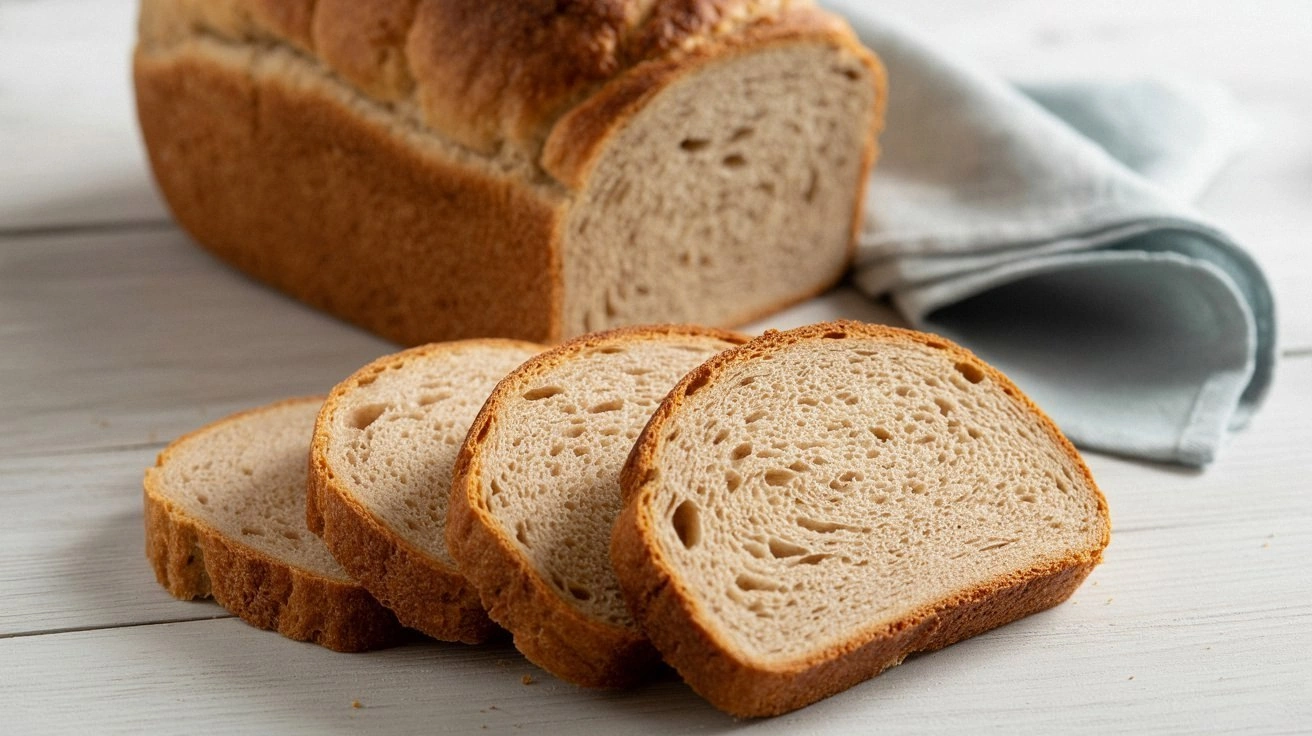
Imagine pulling this loaf out of the oven, the kitchen filling with a warm, yeasty scent that makes you feel like you’ve stepped into a bakery. The crust is a deep, golden brown, slightly caramelized, and the crumb inside is light, airy, and slightly sweet—just enough to remind you of a home‑baked treat. Picture yourself slicing a piece, the knife gliding effortlessly, revealing a soft, slightly chewy center that holds its shape. That’s the moment you’ll know you’ve mastered the art of whole wheat bread. Let me walk you through every single step — by the end, you’ll wonder how you ever made it any other way.
What Makes This Version Stand Out
- Flavor: The blend of whole wheat and all‑purpose flour gives a nutty base that’s brightened by a touch of honey, creating a subtle sweetness that pairs beautifully with savory toppings.
- Texture: The crumb is airy yet slightly chewy, thanks to the precise hydration and the addition of olive oil, which keeps the bread moist without making it heavy.
- Simplicity: The recipe uses only a handful of pantry staples, yet the result feels like a gourmet loaf you could proudly serve at a dinner party.
- Uniqueness: A small splash of warm water and a pinch of molasses during the first rise unlocks a depth of flavor that most whole wheat recipes miss.
- Crowd Reaction: Friends who’ve tried it rave about how the loaf stays fresh for days and can be sliced into perfect toast for breakfast.
- Ingredient Quality: Using high‑protein whole wheat flour and a fresh yeast pack ensures a robust rise and a satisfying crust.
- Cooking Method: The two‑stage rise technique and a short, high‑heat finish lock in flavor while preventing the crust from becoming overly tough.
- Make‑Ahead Potential: The dough can be refrigerated overnight, allowing you to start the morning with a loaf that’s already baked to perfection.
Alright, let’s break down exactly what goes into this masterpiece…
Inside the Ingredient List
The Flour Mix
The base of any great loaf is its flour. In this recipe, we combine 2 cups of high‑protein whole wheat flour with 1 cup of all‑purpose flour. The whole wheat flour provides the nutty flavor and fiber, while the all‑purpose flour lightens the crumb and improves rise. If you’re a gluten‑sensitive baker, consider substituting part of the whole wheat flour with a gluten‑free blend that mimics the protein content. Skipping the all‑purpose flour will make the loaf denser and more rustic, which isn’t necessarily bad, but it will alter the delicate balance we’ve achieved.
The Hydration Crew
Water is the life force of dough. We use 1 cup of warm water (about 110°F) to activate the yeast. Warm water encourages yeast activity without killing it, leading to a quicker and more reliable rise. If you’re in a dry climate, you might need to add a tablespoon of warm milk to maintain the right moisture level. Over‑hydrating can result in a sticky dough that’s difficult to shape, while under‑hydrating can produce a crumb that feels dry and crumbly.
The Sweetener and Oil
Honey is the sweetener of choice in this loaf. It not only adds a subtle sweetness that balances the earthiness of the whole wheat but also promotes browning, giving the crust a beautiful golden hue. Olive oil is added to keep the crumb moist and tender; it also adds a faint fruity note that pairs nicely with the honey. If you prefer a more neutral flavor, you can replace the olive oil with melted butter or a neutral oil like canola. Skipping the oil will make the loaf drier and less flavorful.
The Yeast and Salt
We use 2 teaspoons of active dry yeast, which is a reliable choice for home baking. The yeast works in tandem with the warm water to create the bubbles that give the loaf its airy structure. Salt, on the other hand, controls yeast activity and enhances flavor. Too much salt can inhibit rise, while too little can make the loaf taste flat. If you’re watching sodium intake, you can reduce the salt to ¾ teaspoon, but keep in mind that the flavor profile will shift slightly.
The Final Flourish
A pinch of sesame seeds or sunflower seeds adds a delightful crunch and a nutty aroma when toasted in the crust. Seeds also bring a subtle nutritional boost, adding protein and healthy fats. If you’re allergic or simply don’t like seeds, you can omit them without affecting the structure of the loaf. Adding a tablespoon of molasses in the second rise step will deepen the color and introduce a caramel note that many find irresistible.
Everything's prepped? Good. Let's get into the real action…
The Method — Step by Step
- Activate the Yeast: In a small bowl, combine the warm water, 1 tablespoon of honey, and the yeast. Let it sit for 5–7 minutes until the mixture becomes frothy and foamy. This froth is your sign that the yeast is alive and ready to work its magic. If the mixture doesn’t froth, the yeast may be dead; in that case, start over with fresh yeast.
- Mix the Dry Ingredients: In a large mixing bowl, whisk together the whole wheat flour, all‑purpose flour, salt, and a pinch of sesame seeds. Whisking ensures the salt is evenly distributed, preventing pockets of intense saltiness in the final loaf.
- Combine Wet and Dry: Pour the frothy yeast mixture into the dry ingredients. Add 2 tablespoons of olive oil and stir with a wooden spoon until a shaggy dough forms. The dough will be slightly sticky; this is normal. The oil will help the dough come together and keep the crumb tender.
- First Rise: Cover the bowl with plastic wrap or a damp kitchen towel and let the dough rise in a warm spot for 1 hour, or until it has doubled in size. During this period, the yeast ferments sugars, producing carbon dioxide that inflates the dough. Keep an eye on the dough—if it’s rising too quickly, it may be in a drafty area; if too slowly, it might be too cold.
- Shape the Loaf: After the first rise, gently deflate the dough on a lightly floured surface. Turn it out onto the surface and shape it into a tight ball. Place the dough seam‑side down in a greased loaf pan. This step is critical; a well‑shaped loaf will rise evenly and have a pleasing appearance.
- Second Rise: Cover the loaf again and let it rise for 30–45 minutes. During this second rise, the dough will expand further, creating an open crumb structure. If you’re using molasses, drizzle a tablespoon over the dough at this point; it will caramelize during baking, adding depth of flavor.
- Preheat the Oven: While the dough finishes its second rise, preheat the oven to 425°F (220°C). A hot oven ensures a crisp crust and a well‑cooked interior. Place a baking stone or a baking sheet in the middle rack to preheat as well.
- Bake: Slide the loaf onto the preheated stone or sheet. Bake for 25–30 minutes, or until the crust is a deep golden brown and a toothpick inserted into the center comes out clean. The loaf should emit a warm, yeasty aroma that fills the kitchen.
- Cool: Remove the loaf from the oven and let it cool on a wire rack for at least 20 minutes before slicing. Cooling allows the steam inside the loaf to redistribute, ensuring a tender crumb. If you slice too early, the loaf may be gummy and the crust won’t set properly.
- Enjoy: Slice the loaf, spread butter or your favorite jam, and savor the perfect balance of crusty exterior and soft interior. If you’re feeling adventurous, toast slices and top them with avocado or smoked salmon for a gourmet twist.
That's it — you did it. But hold on, I've got a few more tricks that'll take this to another level…
Insider Tricks for Flawless Results
The Temperature Rule Nobody Follows
Many bakers think room temperature is fine for rising, but subtle temperature differences can make a huge impact. Keep the dough in a spot that stays between 75–80°F (24–27°C). If your kitchen is cooler, place the bowl on top of the refrigerator or near a radiator. A slightly warmer environment accelerates yeast activity, giving you a more consistent rise and a lighter crumb.
Why Your Nose Knows Best
The aroma of the dough is a reliable indicator of its readiness. When the dough is ready to be shaped, it will emit a sweet, yeasty fragrance, almost like a fresh bakery. If the smell is sour or metallic, the dough has over‑fermented or the yeast is compromised. Trust your nose; it’s the best judge of freshness.
The 5‑Minute Rest That Changes Everything
After the second rise, let the loaf rest for 5 minutes before baking. This pause allows the gluten to relax slightly, which reduces the risk of the loaf collapsing during baking. It also gives the crust a chance to set, ensuring a crisp exterior that holds its shape when sliced.
Use a Baking Stone
A baking stone retains heat better than a regular sheet, providing a more even baking surface. If you don’t have a stone, preheat a heavy baking sheet instead. The consistent heat source ensures the bottom of the loaf cooks through without burning, giving you a uniform crumb.
Add a Splash of Water Before Reheating
When you want to reheat slices or a whole loaf, sprinkle a tiny splash of water over the surface before placing it in the oven or toaster. The water turns into steam, which keeps the crumb moist and prevents the crust from becoming overly hard. This trick works especially well if the bread has been stored in the fridge for a few days.
Creative Twists and Variations
This recipe is a playground. Here are some of my favorite ways to switch things up:
Sunflower Seed Crunch
Add ¼ cup sunflower seeds to the dough before the first rise. The seeds pop during baking, adding a nutty crunch that complements the whole wheat base. Perfect for a breakfast loaf that can be sliced and toasted.
Cheese & Herb Edition
Fold in ½ cup shredded cheddar and a tablespoon of chopped fresh rosemary before the second rise. The cheese melts into the crumb, creating pockets of gooey goodness, while rosemary adds an aromatic lift.
Apple Cinnamon Sweetbread
Stir in ½ cup diced apples and 1 teaspoon cinnamon into the dough after the first rise. The apples soften during baking, infusing the loaf with a fragrant, fruity sweetness that pairs well with a butter spread.
Garlic Parmesan Twist
Brush the loaf with melted butter mixed with 2 minced garlic cloves and a sprinkle of grated Parmesan before baking. The garlic infuses the crust with savory depth, while Parmesan adds a salty, umami kick.
Rye Infusion
Replace 1 cup of all‑purpose flour with rye flour for a denser, slightly sour loaf. Rye’s unique flavor profile pairs wonderfully with honey and olive oil, creating a loaf that feels hearty and comforting.
Chocolate Chip Delight
Fold in ½ cup chocolate chips into the dough after the first rise. The chips melt into pockets of chocolate, making this loaf a dessert‑bread that satisfies sweet cravings without compromising the whole wheat foundation.
Storing and Bringing It Back to Life
Fridge Storage
Store the loaf in an airtight plastic bag or wrap it tightly in plastic wrap. It will stay fresh for up to 4 days in the refrigerator. If you notice the crumb becoming dry, lightly mist the loaf with water before reheating to restore moisture.
Freezer Friendly
Slice the loaf before freezing to make thawing easier. Place the slices in a freezer bag and seal tightly. Freeze for up to 3 months. When ready to enjoy, toast slices directly from the freezer; the bread will maintain its texture and flavor.
Best Reheating Method
To revive a stale loaf, preheat the oven to 350°F (175°C). Place the loaf on a baking sheet and bake for 10–12 minutes, or until the crust feels crisp. For a quicker method, microwave a slice for 10–15 seconds, then finish on a skillet with a little butter to crisp the crust.