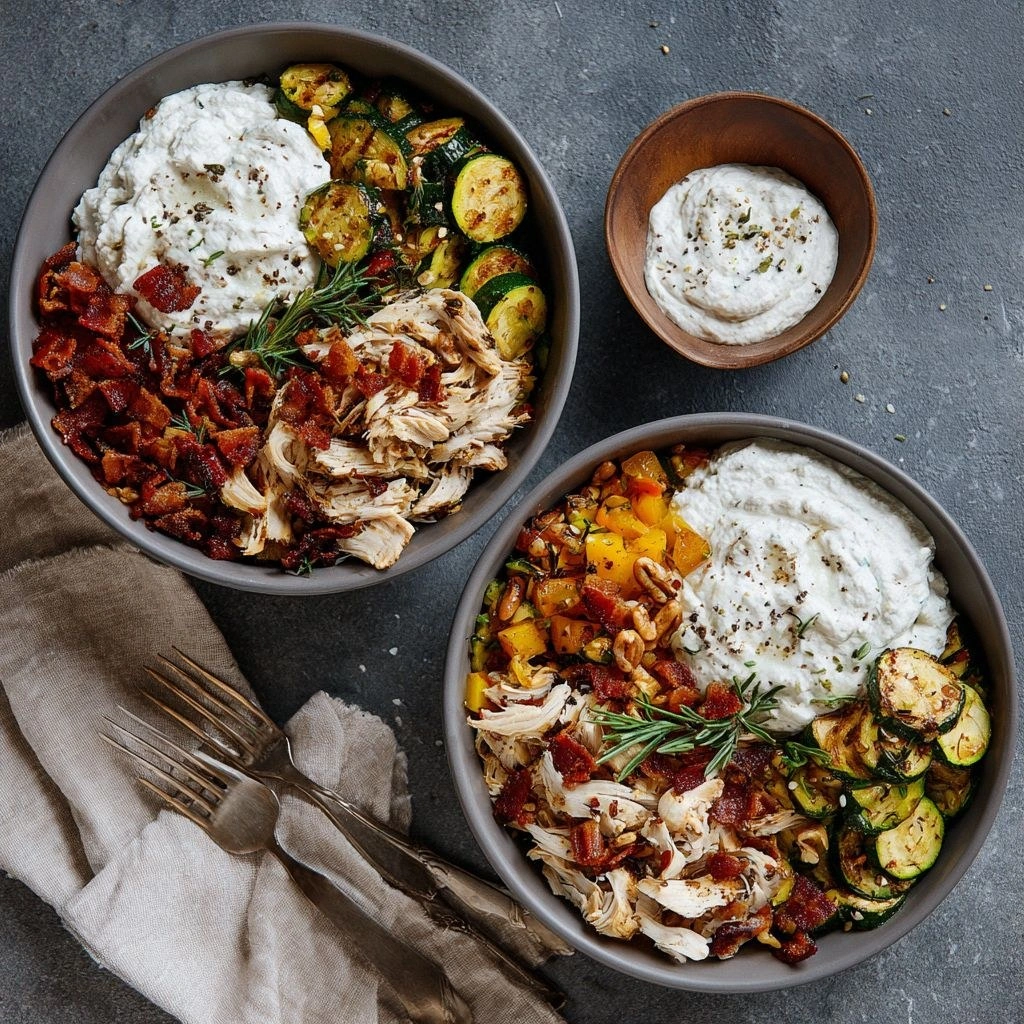
Picture this: I was in the middle of a midnight snack frenzy, craving something crunchy and wholesome, when my pantry exploded with a single, unassuming ingredient—rice flour. The kitchen smelled like a mix of toasted sesame and garlic, and my fingers were already dancing to the rhythm of a recipe I’d never seen before. That moment, I realized I was about to uncover the ultimate rice cake snack that would change the way you think about snack time forever. It’s not just another crunchy bite; it’s a symphony of textures and flavors that will make your taste buds sing, and the best part? It’s as simple as it is delicious.
I’ve spent the last year trying every rice‑based snack out there, from the bland, pre‑packaged varieties that taste like cardboard, to the overly sweet versions that leave you feeling guilty. None of those satisfied my craving for a snack that’s both light and satisfying. The secret lies in the balance of the rice flour base, the subtle kick of spices, and that final golden finish that gives you that satisfying crunch—like biting into a fresh, airy cloud that has been kissed by the sun. And trust me, when you taste the first bite, you’ll be tempted to reach for a second, and a third, and a fourth.
I dare you to taste this and not go back for seconds. This is hands down the best version you’ll ever make at home. I’ll be honest—I ate half the batch before anyone else got to try it. Most recipes get this completely wrong. They either over‑bake and end up dry or under‑season and taste flat. Here’s what actually works: a precise ratio of rice flour to water, a pinch of salt that awakens the flavor, and a quick, high‑heat finish that locks in that coveted crunch. Picture yourself pulling this out of the oven, the whole kitchen smelling incredible, and seeing the golden edges that shatter like thin ice when you bite into them.
Okay, ready for the game‑changer? This next part? Pure magic. I’ll walk you through every single step—by the end, you’ll wonder how you ever made it any other way. Let’s dive in.
What Makes This Version Stand Out
- Flavor: The subtle blend of garlic powder, paprika, and a whisper of chili creates a depth that’s surprisingly sophisticated for a snack.
- Texture: The rice flour base yields an airy, crisp exterior while keeping the interior tender—crunch that doesn’t crumble under your teeth.
- Ease: No complex doughs or lengthy fermentation—just a handful of ingredients and a quick bake.
- Health: Low in calories, high in fiber, and free from artificial additives—snacking without guilt.
- Versatility: Works as a side, a snack, or a party appetizer—just sprinkle your favorite toppings and you’re set.
- Make‑Ahead: Bake once, store in an airtight container, and they stay crisp for up to a week.
- Presentation: The golden finish and subtle sheen make them look as good as they taste—ideal for a quick Instagram story.
Alright, let’s break down exactly what goes into this masterpiece…
Inside the Ingredient List
The Flour Foundation
Rice flour is the star of this recipe. It’s naturally gluten‑free, light, and has a neutral taste that lets the spices shine. Using a 1:1 ratio of rice flour to water keeps the batter just thick enough to hold shape without becoming doughy. If you skip the flour, you’ll end up with a mushy, unstructured snack that won’t crisp up.
The Liquid Lift
Water is the only liquid needed—no milk or broth. It hydrates the flour, creating a smooth batter that spreads evenly on the pan. If you use too much water, the cakes will spread thin and lose their bite; too little, and they’ll be dense and heavy. A pinch of salt in the water boosts flavor and helps the rice flour gelatinize properly.
The Spice Symphony
A blend of garlic powder, paprika, and chili flakes gives the cakes a savory kick that’s surprisingly complex. Garlic powder adds depth without overpowering; paprika brings a smoky warmth; chili flakes give a subtle heat that lingers. If you’re a fan of herbs, a dash of dried oregano or thyme can replace the paprika for a Mediterranean twist. Skipping the spices results in bland, forgettable snacks that won’t get the applause.
The Oil Touch
Olive oil is used sparingly to coat the baking sheet and lightly brush the batter. It prevents sticking, promotes even browning, and adds a silky finish that’s essential for the signature crunch. If you’re vegan or prefer a neutral oil, avocado or grapeseed work just as well. Using too much oil will make the cakes greasy, so keep it light.
The Optional Garnish
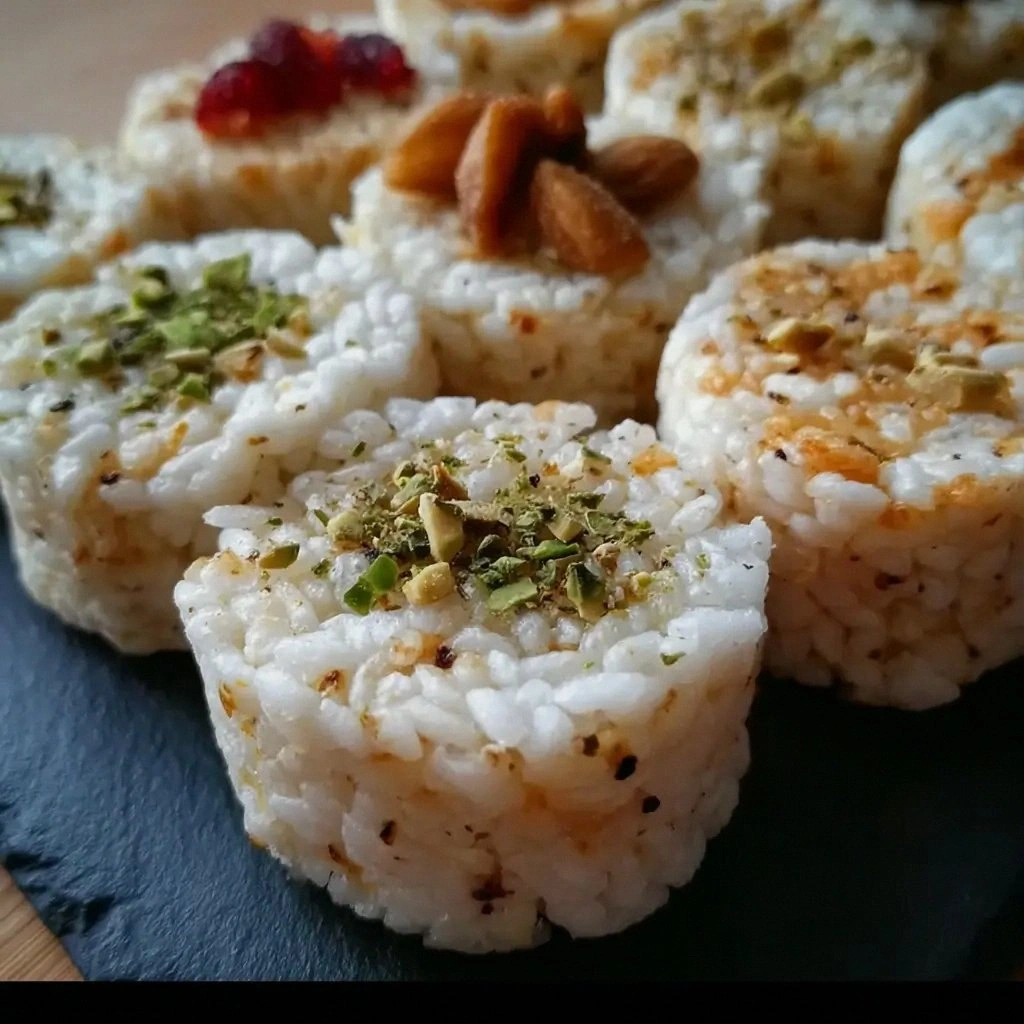
Sesame seeds, chopped parsley, or a sprinkle of grated Parmesan can be added after baking for extra flavor and visual appeal. Sesame seeds add a nutty crunch; parsley brings freshness; Parmesan offers a savory umami boost. If you omit the garnish, the cakes still shine, but the extra layer of texture and taste can elevate the experience.
Everything's prepped? Good. Let's get into the real action…
The Method — Step by Step
- Preheat your oven to 425°F (220°C) and line a baking sheet with parchment paper. This high heat is crucial for achieving that golden crunch—think of it as the final kiss of the sun.
- In a large bowl, whisk together 2 cups of rice flour, 1 cup of cold water, 1 tsp salt, 1 tsp garlic powder, 1 tsp paprika, and a pinch of chili flakes. Stir until the batter is smooth, with no lumps. If the mixture feels too thick, add a splash of water; if too runny, add a tablespoon of flour.
- Using a tablespoon, drop spoonfuls of batter onto the prepared sheet, spacing them about 2 inches apart. The batter should spread slightly but not run.
- Lightly brush the tops with olive oil—just enough to give them a glossy sheen. This step is optional but adds a subtle richness.
- Bake for 12–15 minutes, or until the edges turn golden brown and the tops look slightly crisp. The interior should still feel a bit soft; the crispness develops as they cool.
- Remove from the oven and let the cakes cool on a rack for 5 minutes. This allows the steam to escape and the crunch to set—like letting a freshly poured glass of champagne rest before you sip.
- While still warm, sprinkle sesame seeds or your chosen garnish over each cake. The heat will help the seeds adhere, creating a delightful contrast of textures.
- Let the cakes cool completely before serving or storing. They’re best enjoyed the same day, but they’ll stay crisp in an airtight container for up to a week.
That’s it — you did it. But hold on, I’ve got a few more tricks that will take this to another level…
Insider Tricks for Flawless Results
The Temperature Rule Nobody Follows
Many bakers think a lower temperature will give a better texture, but the truth is that high heat is essential for that quick crust. Baking at 425°F (220°C) ensures the batter cooks fast, sealing in moisture while crisping the exterior. If you lower the temperature, the cakes will become soggy and fail to develop that signature crunch.
Why Your Nose Knows Best
The moment the first batch hits the oven, your nose will pick up a sweet, toasted aroma that signals perfection. If the scent is more metallic or burnt, you’re over‑baking. Trust your olfactory senses—they’re the ultimate quality control.
The 5‑Minute Rest That Changes Everything
Letting the cakes rest on a rack for five minutes is not just a formality. It allows the steam to escape, preventing condensation that would otherwise soften the crunch. A quick rest also lets the flavors meld, giving you a richer taste.
The Right Pan Matters
A heavy‑bottomed baking sheet distributes heat evenly, preventing hot spots that cause uneven browning. If you don’t have a heavy pan, use a cast‑iron skillet for a similar effect.
The Quick Brush of Oil
Brushing a light coat of olive oil before baking adds a glossy finish that’s visually appealing and improves mouthfeel. If you skip it, the cakes will still be good, but they’ll lack that subtle shine that signals freshness.
Creative Twists and Variations
This recipe is a playground. Here are some of my favorite ways to switch things up:
Sriracha Sweet Surprise
Swap the paprika for a tablespoon of sriracha and add a teaspoon of honey. The result is a sweet‑spicy kick that’s perfect for adventurous snackers. The heat will dance on your tongue, while the honey balances it with a mellow sweetness.
Herbal Garden Edition
Replace the garlic powder with dried basil and oregano, and add fresh chopped mint after baking. This variation offers a fresh, herbaceous flavor profile that pairs well with a light yogurt dip.
Cheesy Delight
Sprinkle grated Parmesan over the cakes before baking and a tablespoon of shredded mozzarella on top of each after baking. The cheese melts into the batter, creating a gooey center with a crispy edge—an irresistible combination.
Smoky Chipotle Twist
Replace chili flakes with chipotle powder and add a dash of cumin. The smoky undertone gives the cakes depth, making them a great match for a tangy lime salsa.
Citrus Zest Finish
Grate a teaspoon of lemon zest into the batter and drizzle a light lemon vinaigrette over the cooled cakes. The citrus brightens the flavor, making the snacks feel fresh and lively.
Nutty Crunch Upgrade
Add a handful of chopped walnuts or almonds to the batter for extra crunch. The nuts will toast slightly in the oven, adding a nutty aroma and a satisfying bite.
Storing and Bringing It Back to Life
Fridge Storage
Store the cooled cakes in an airtight container at room temperature for up to 3 days. Keep them in a cool, dry place away from direct sunlight. The airtight seal preserves crispness, preventing them from becoming stale.
Freezer Friendly
For longer storage, place the cakes on a baking sheet and freeze until solid. Transfer them to a freezer bag, removing excess air. They’ll keep for up to 3 months. When you’re ready to enjoy, let them thaw at room temperature for 15 minutes before reheating.
Best Reheating Method
Preheat your oven to 350°F (175°C). Place the cakes on a parchment‑lined tray and bake for 5–7 minutes until hot and crisp again. Add a tiny splash of water before reheating to steam back to perfection—this helps maintain that airy interior while reviving the crunch.